
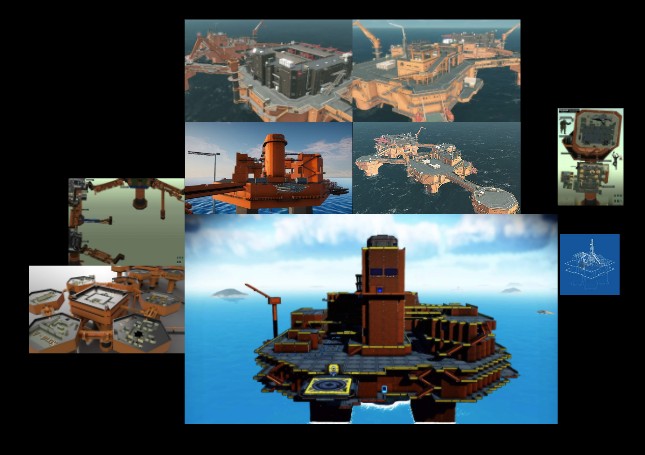

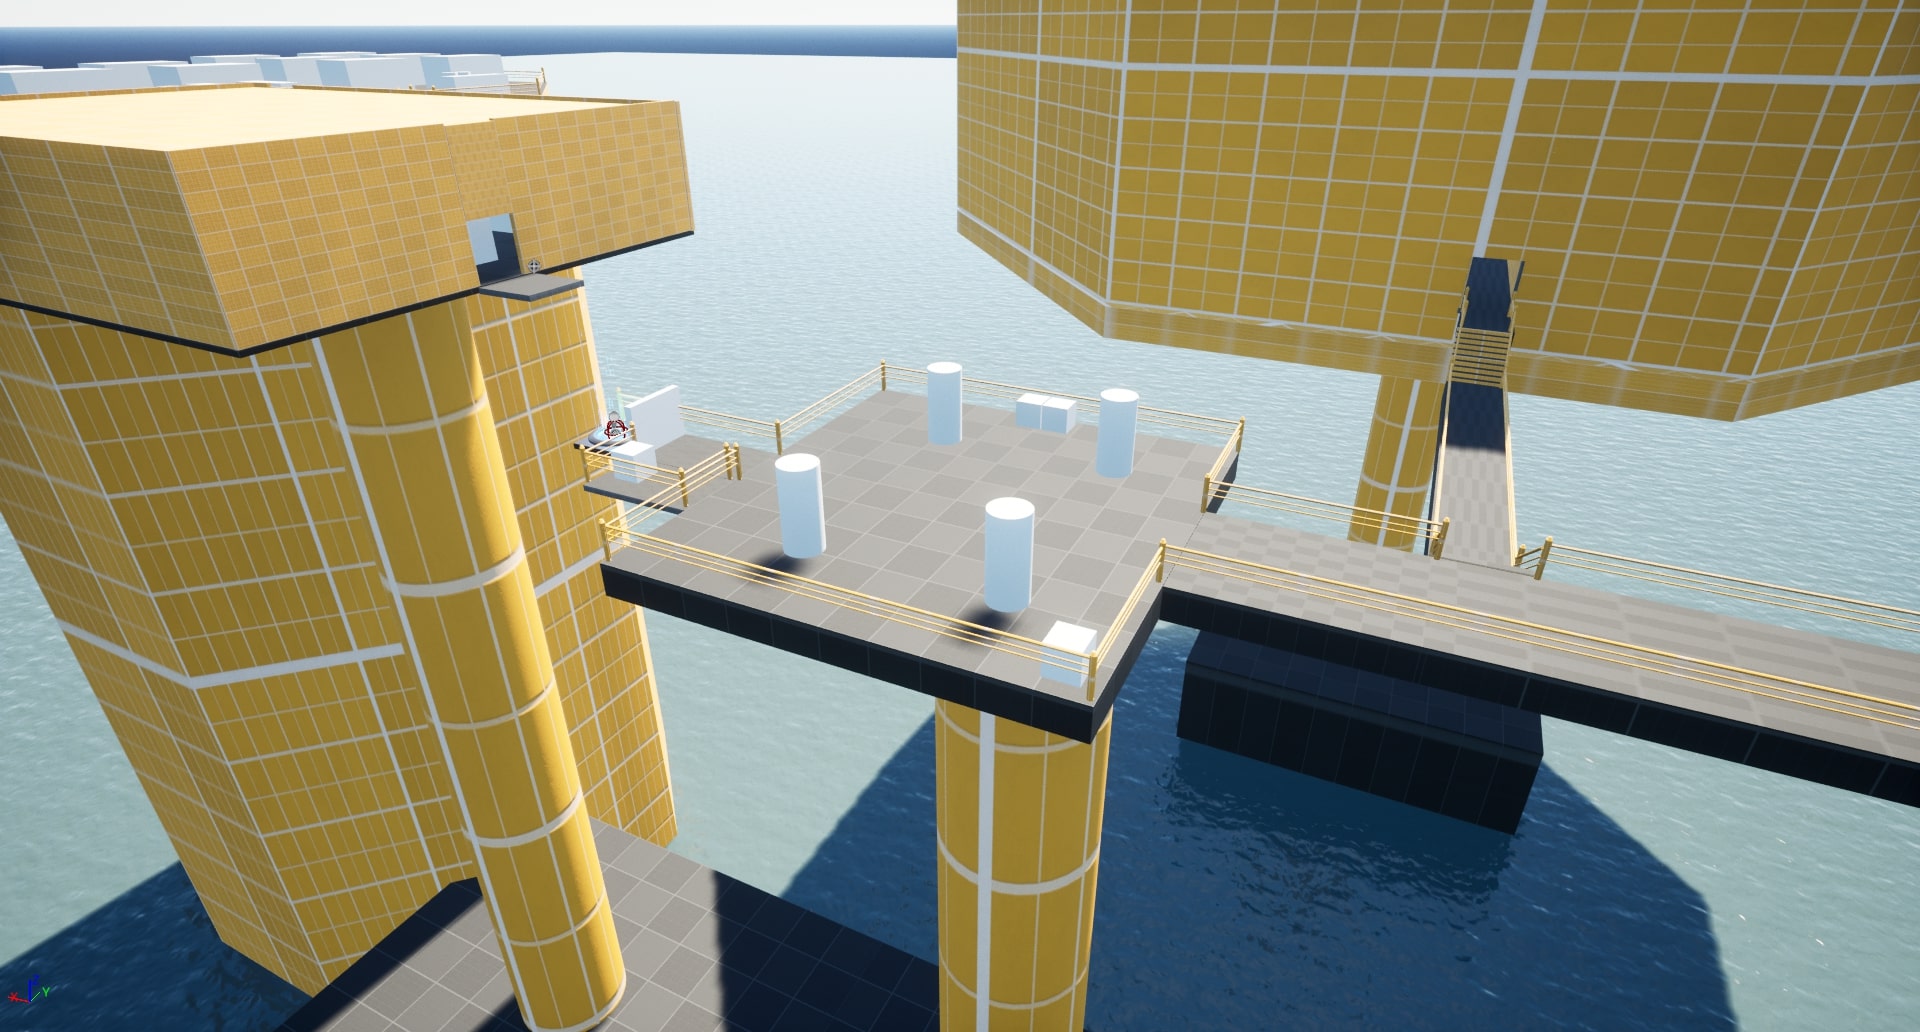

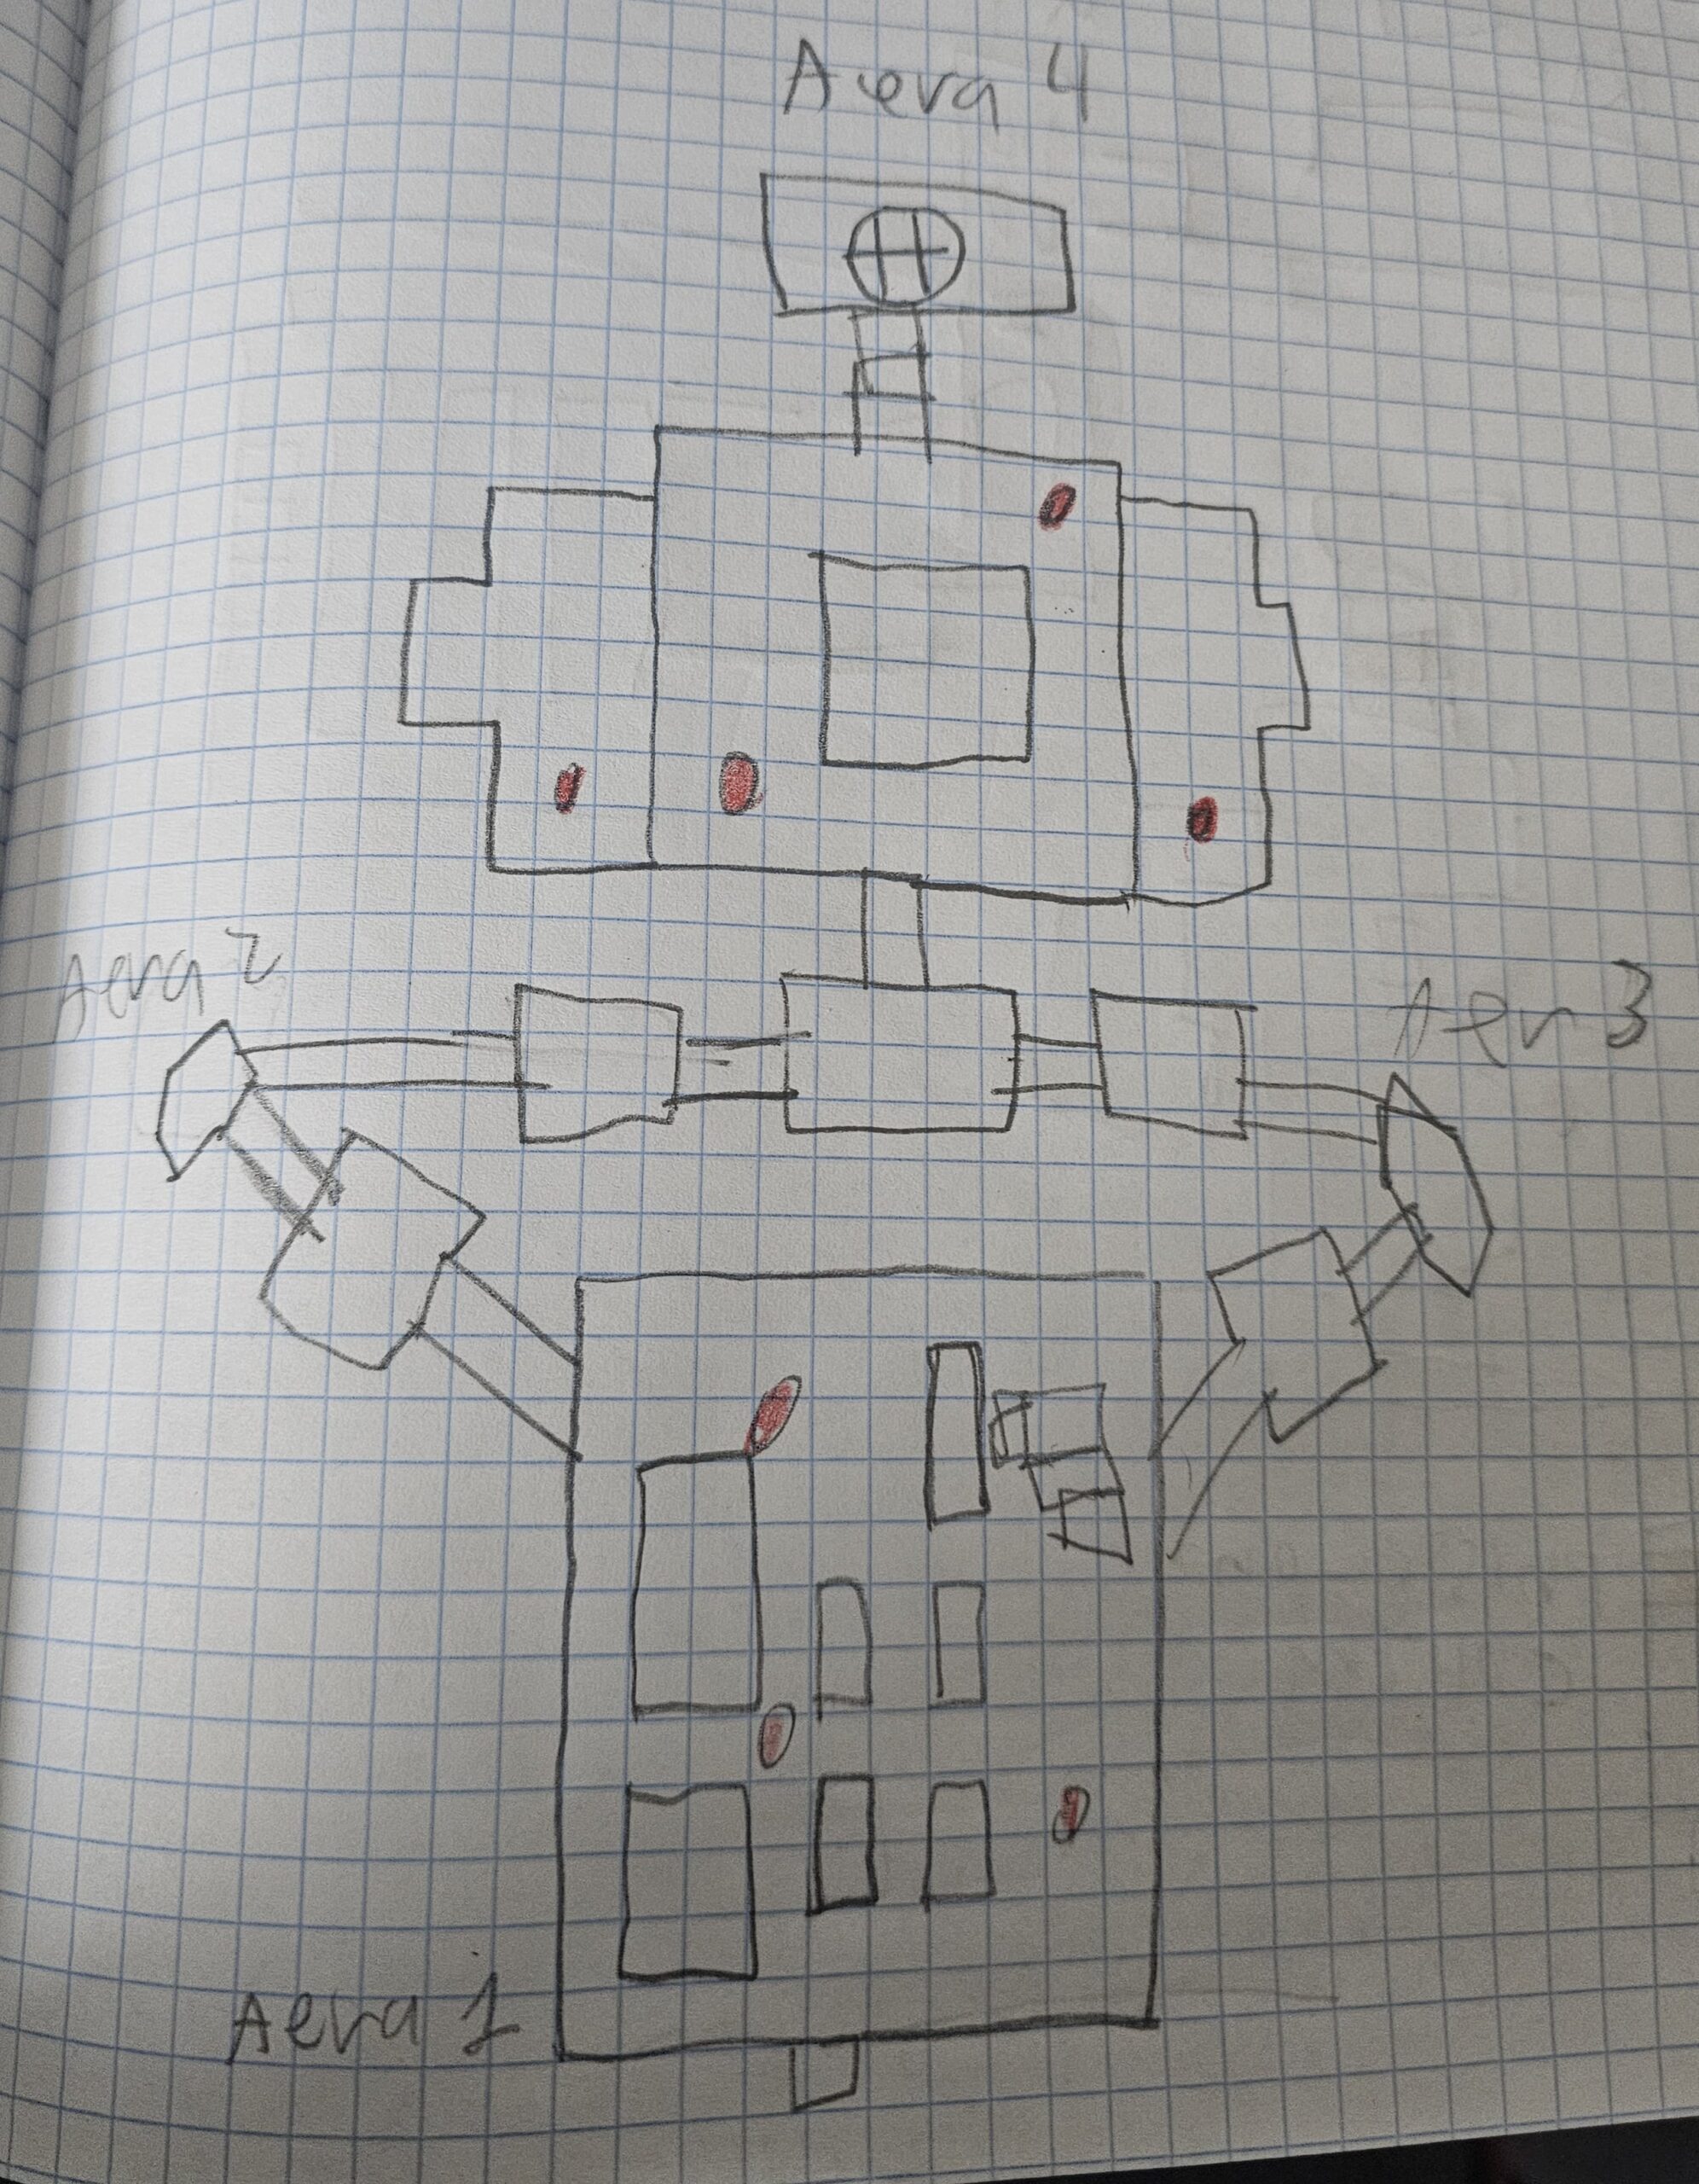
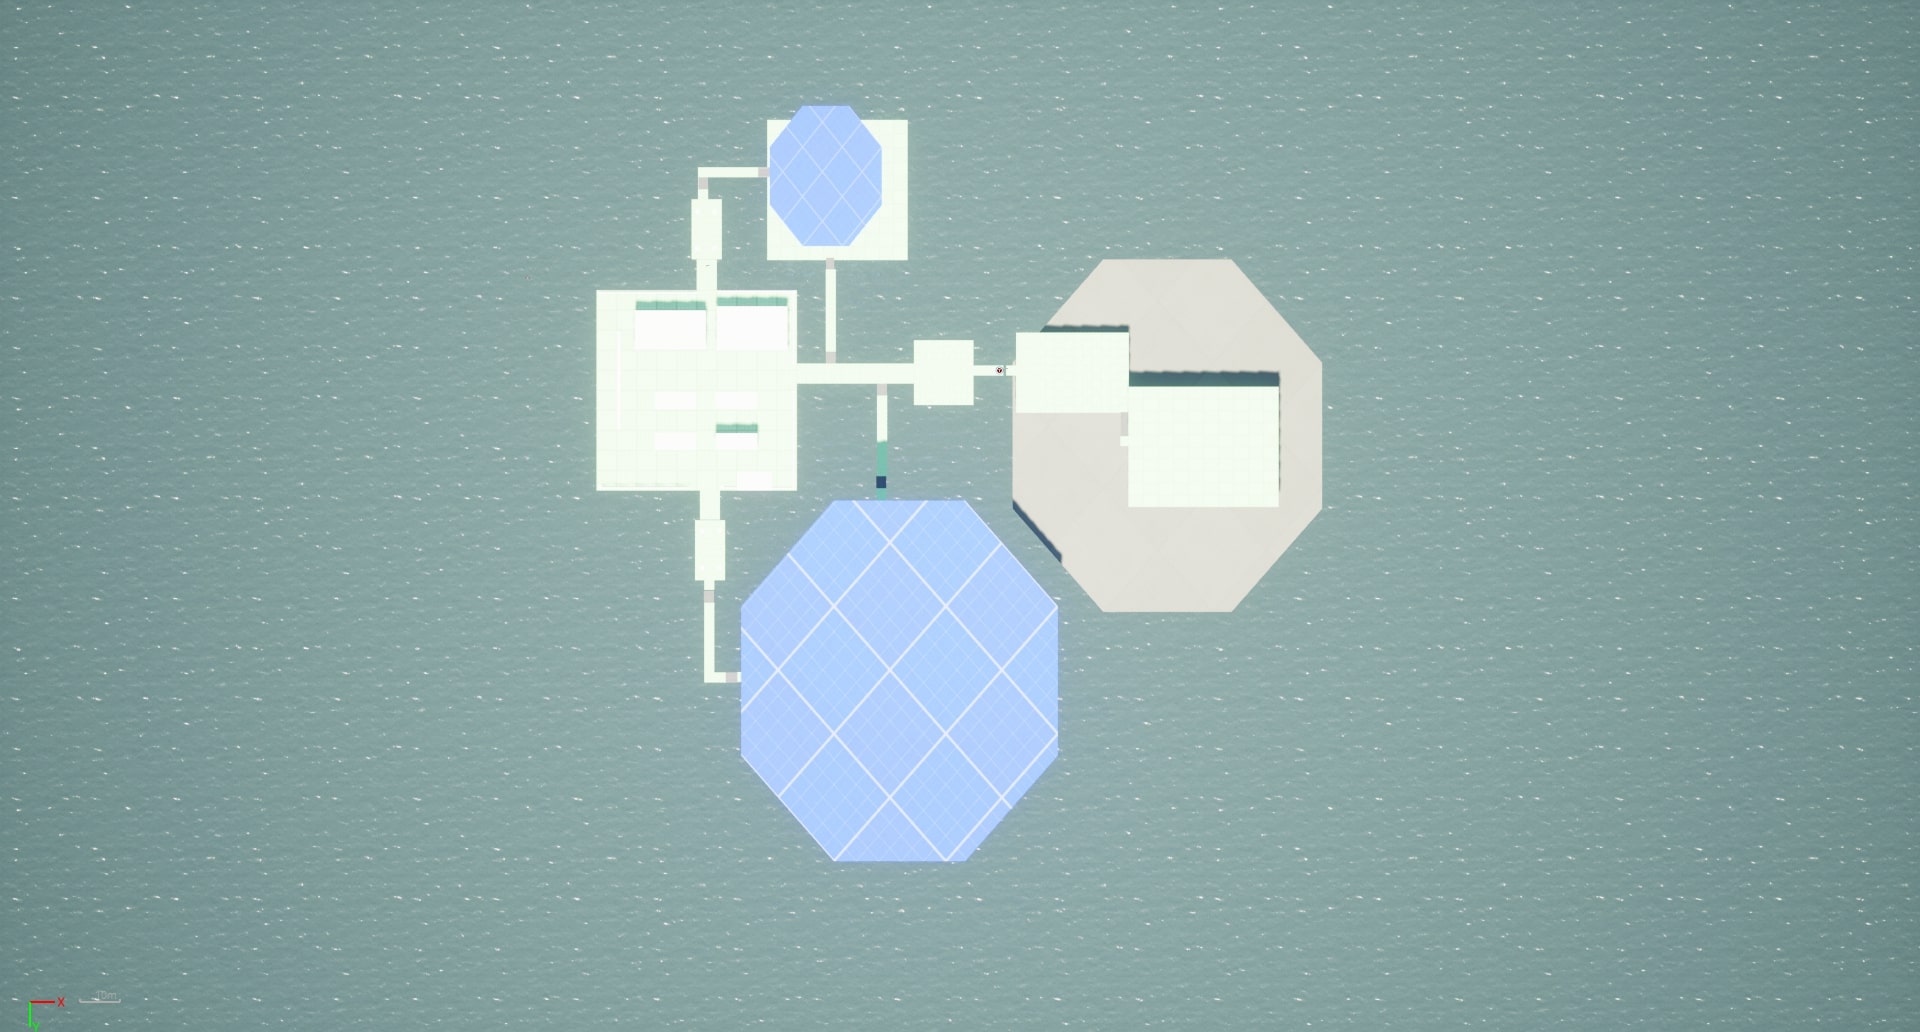

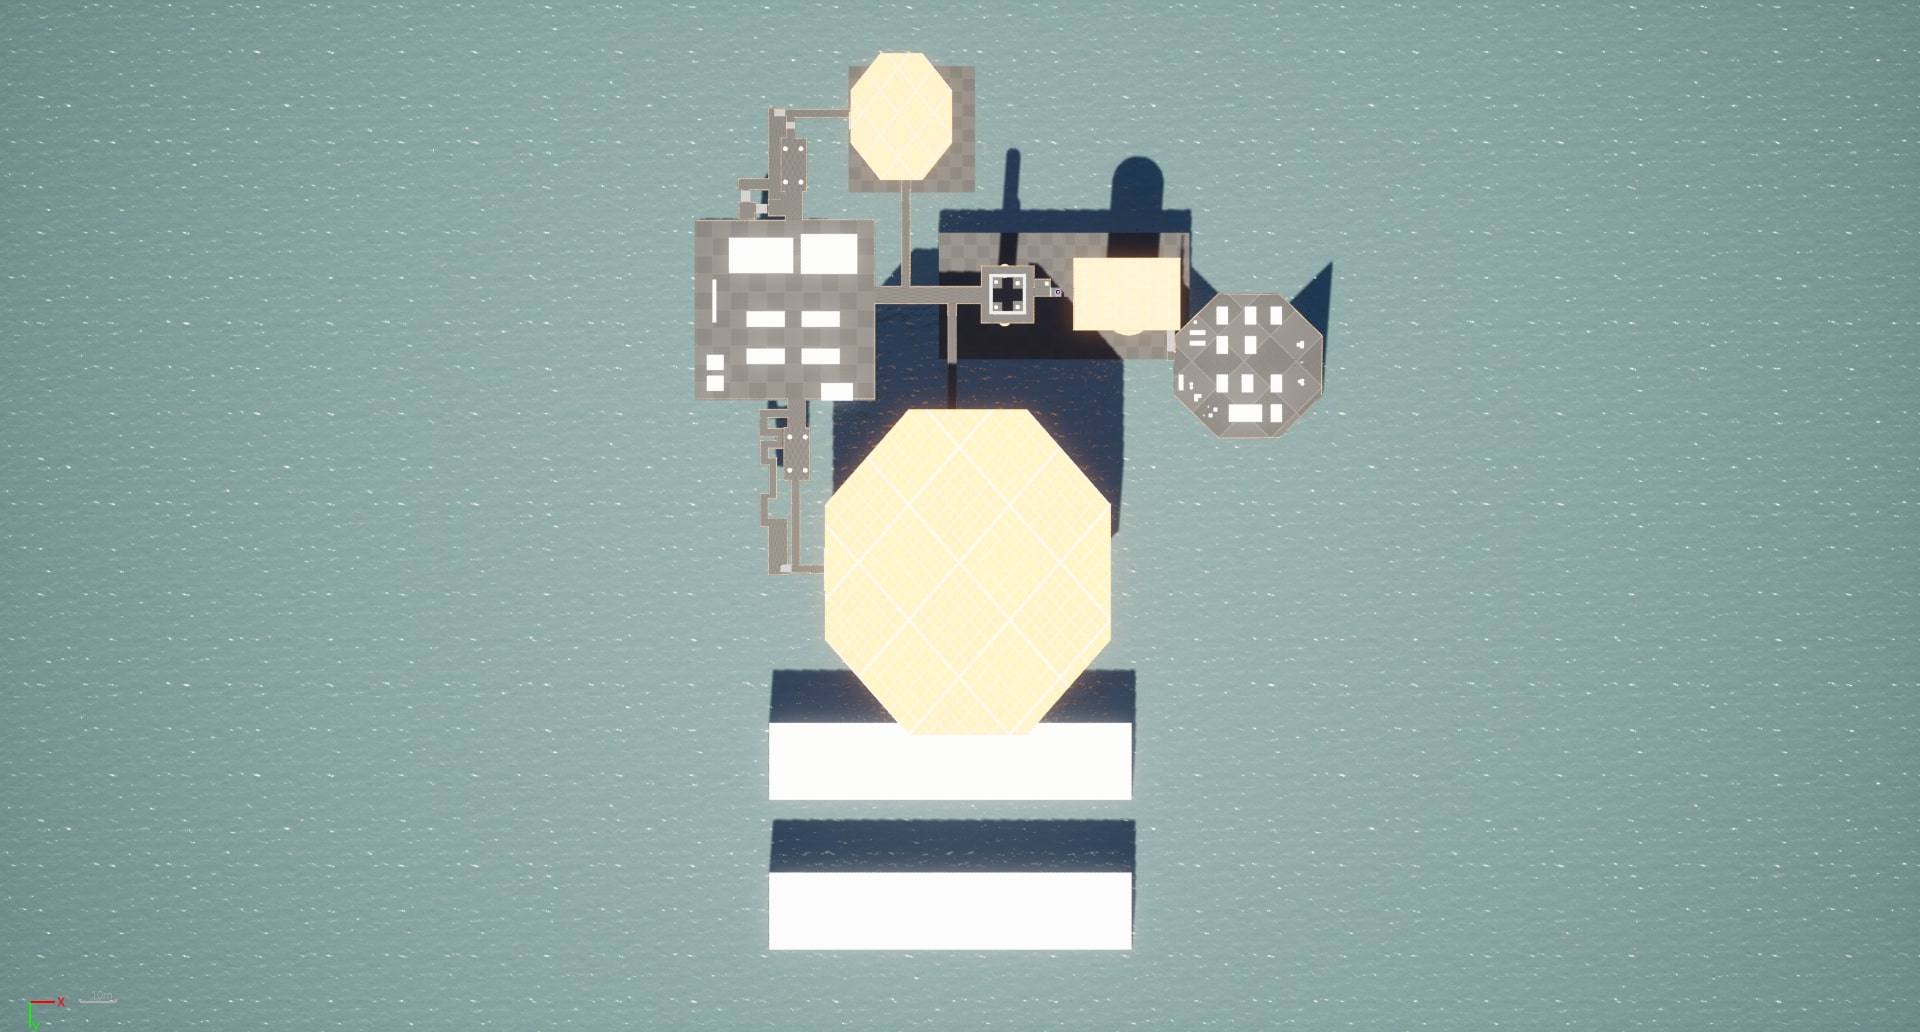
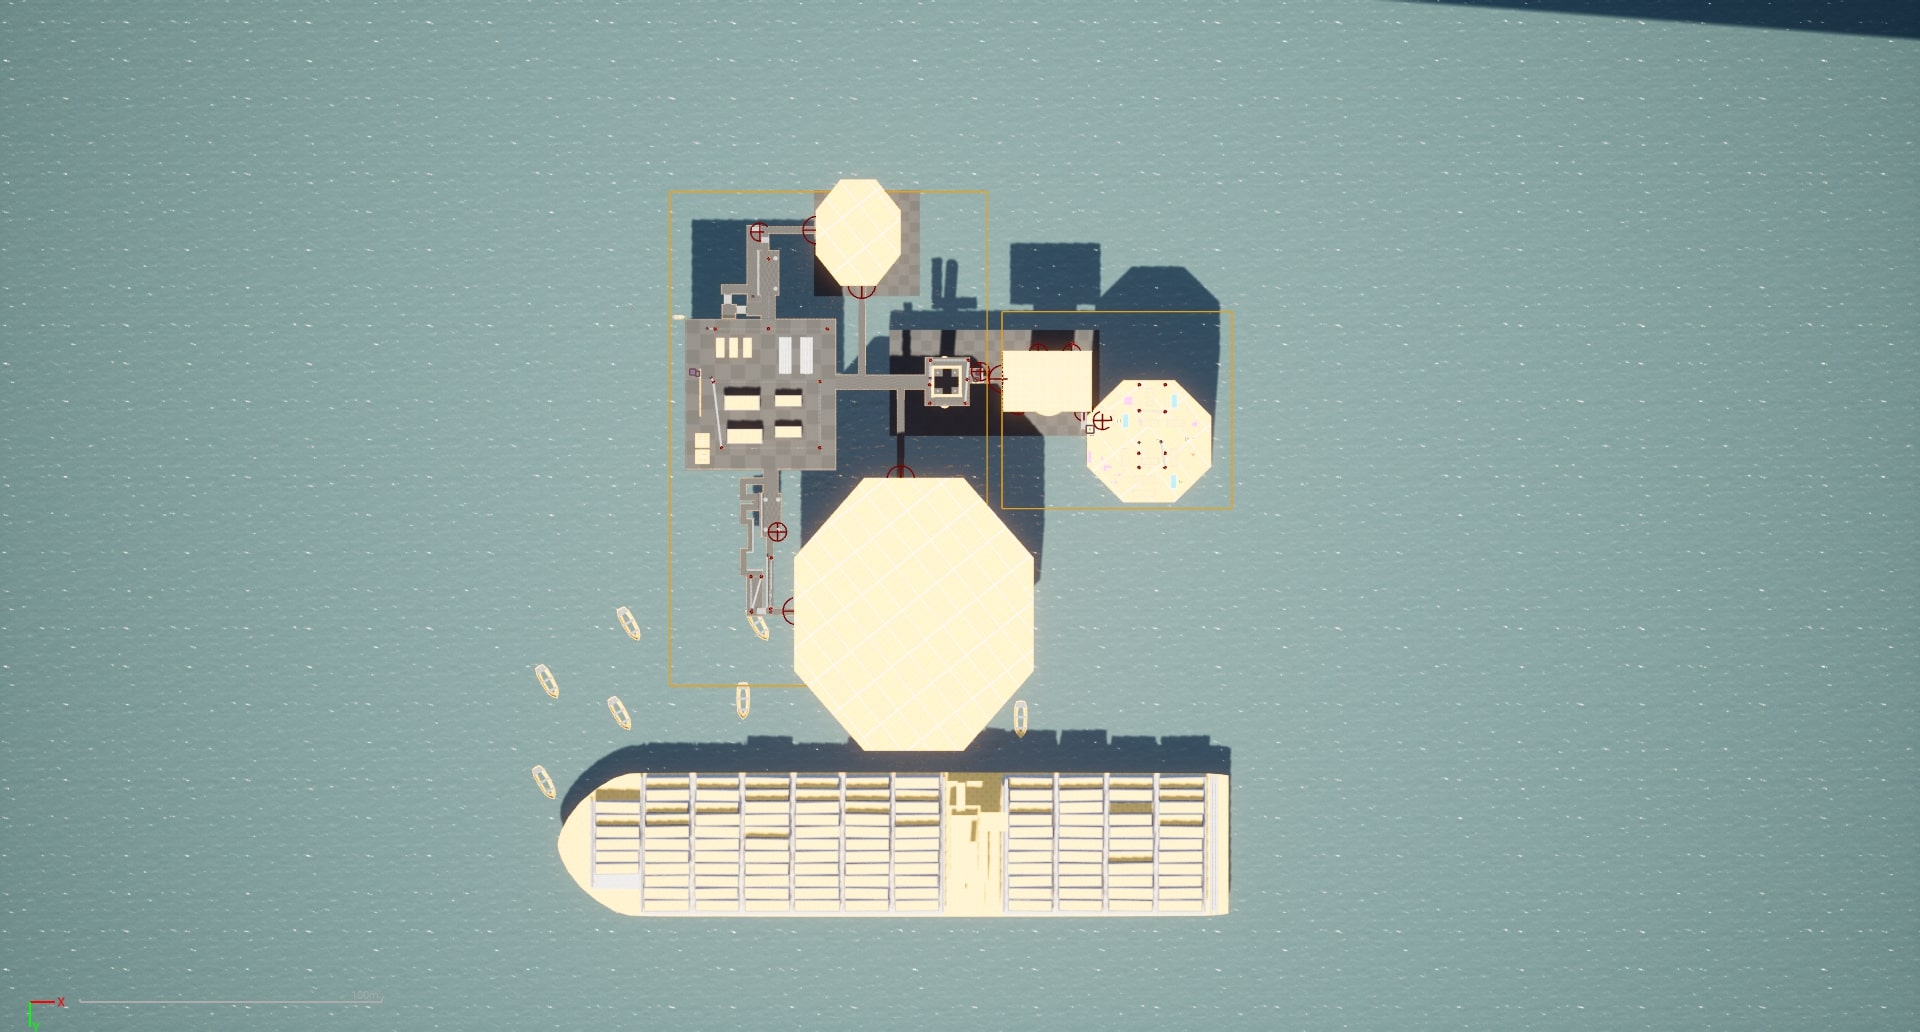
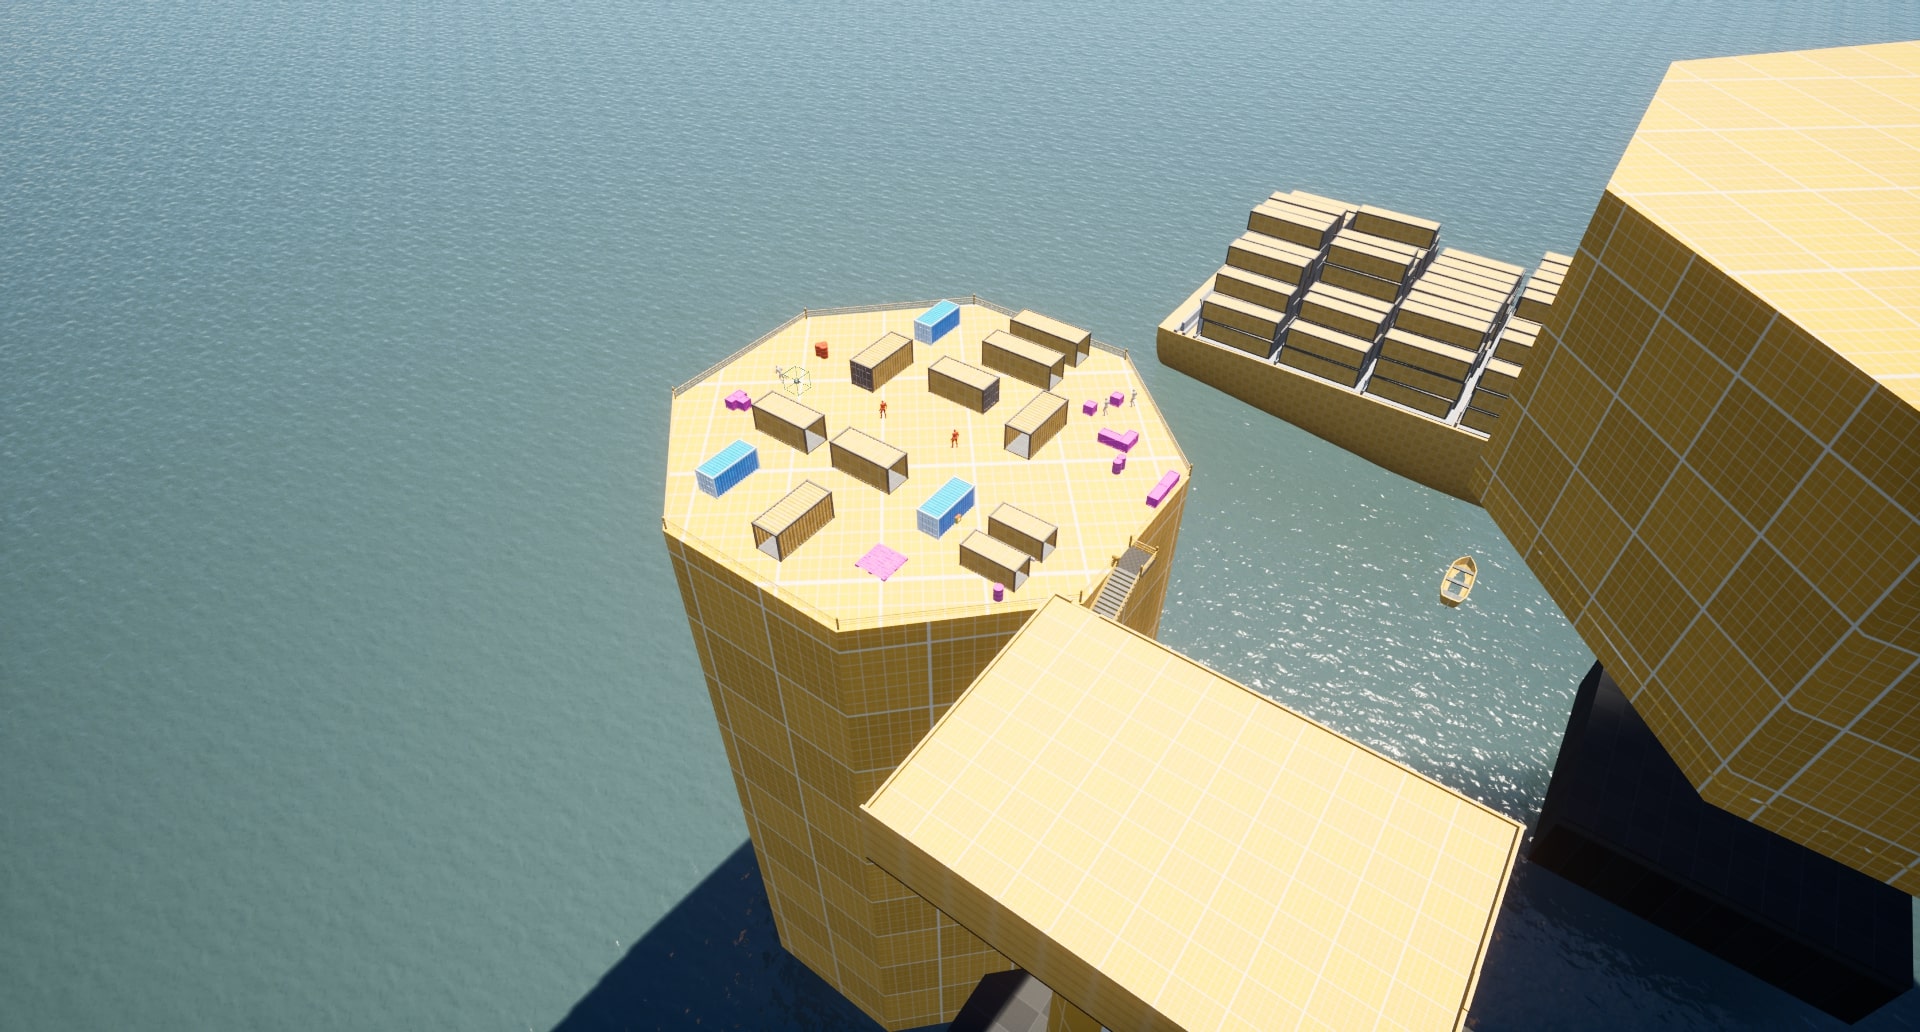


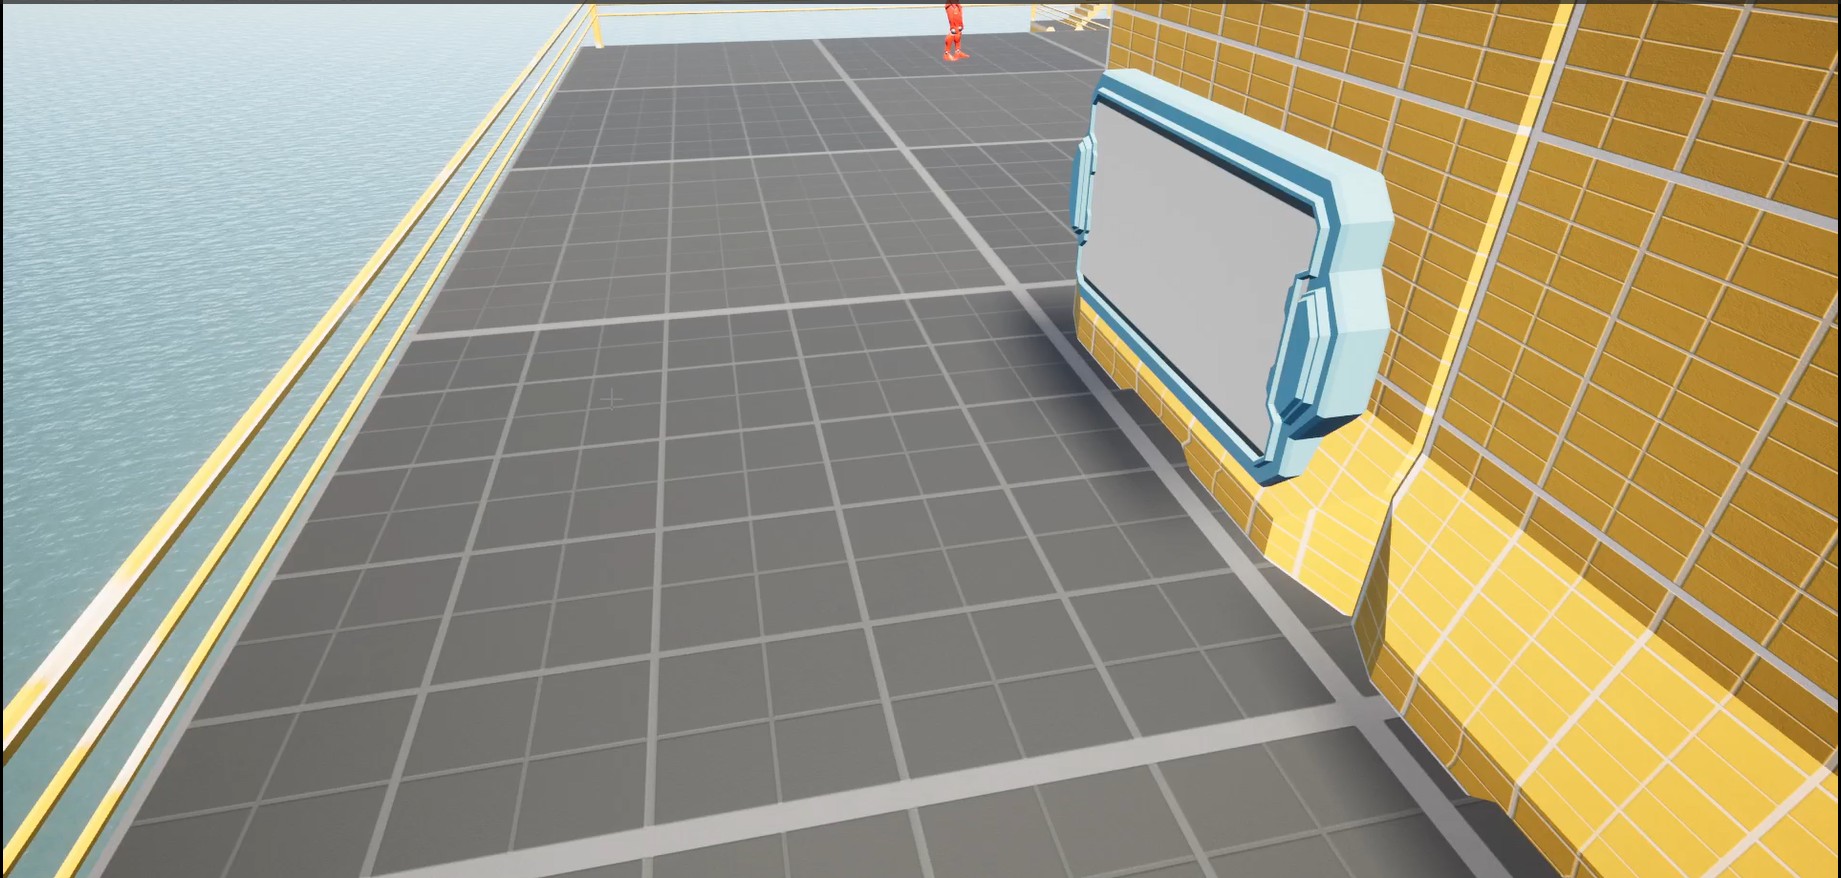
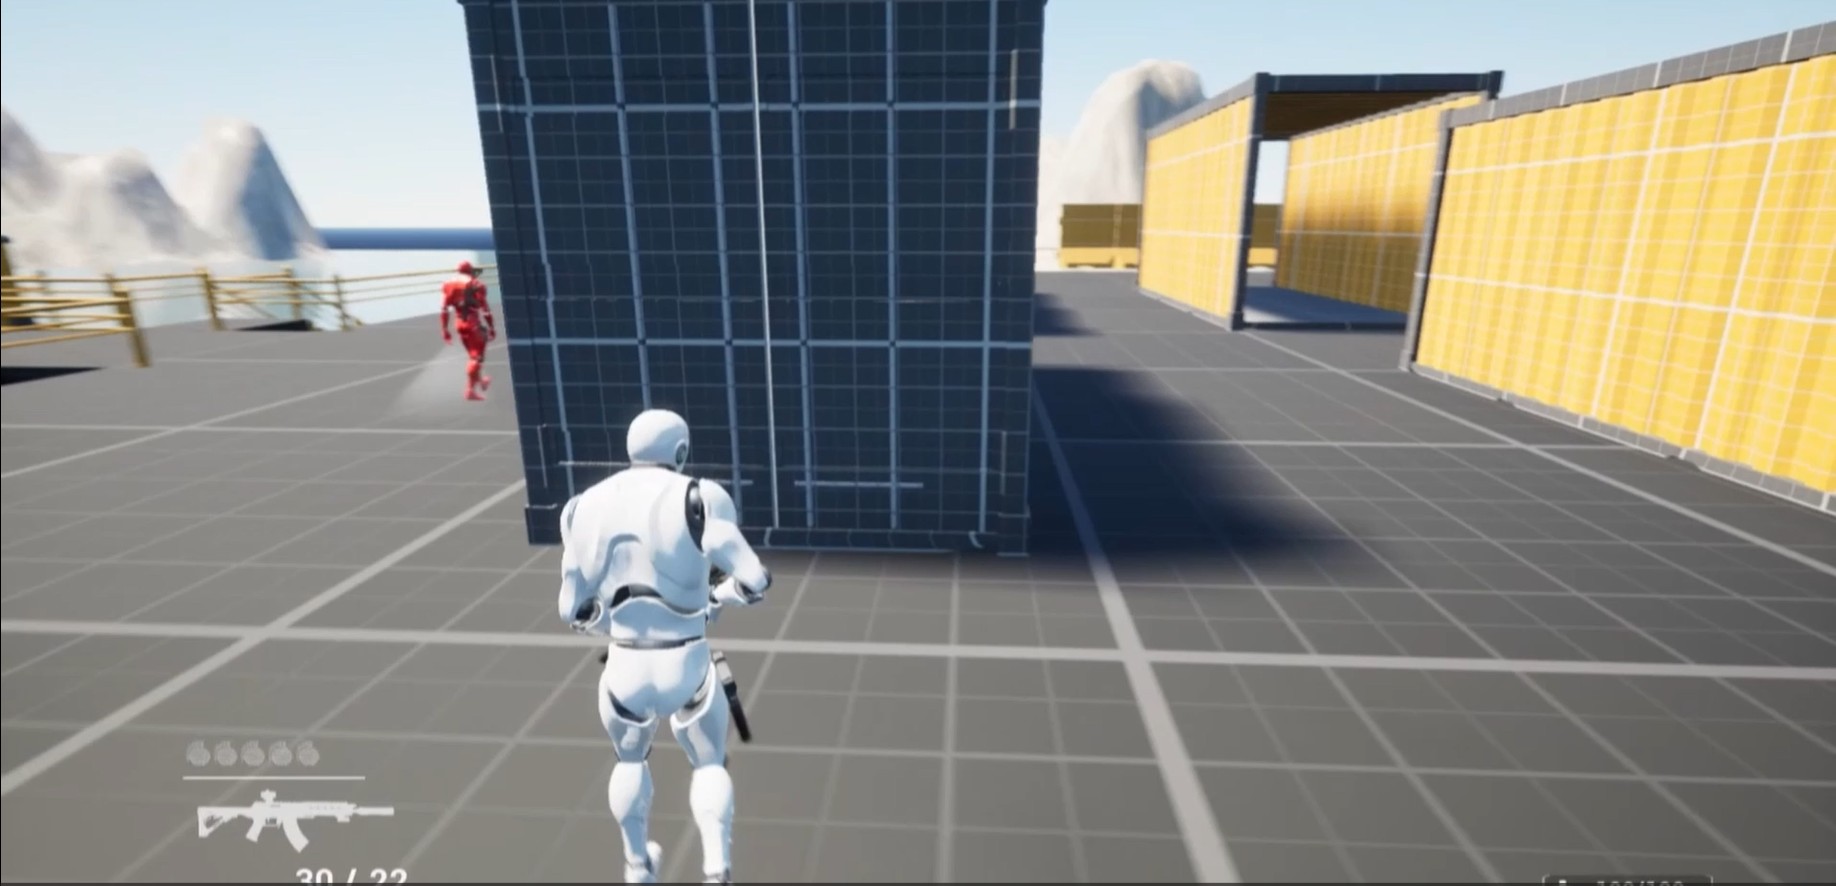
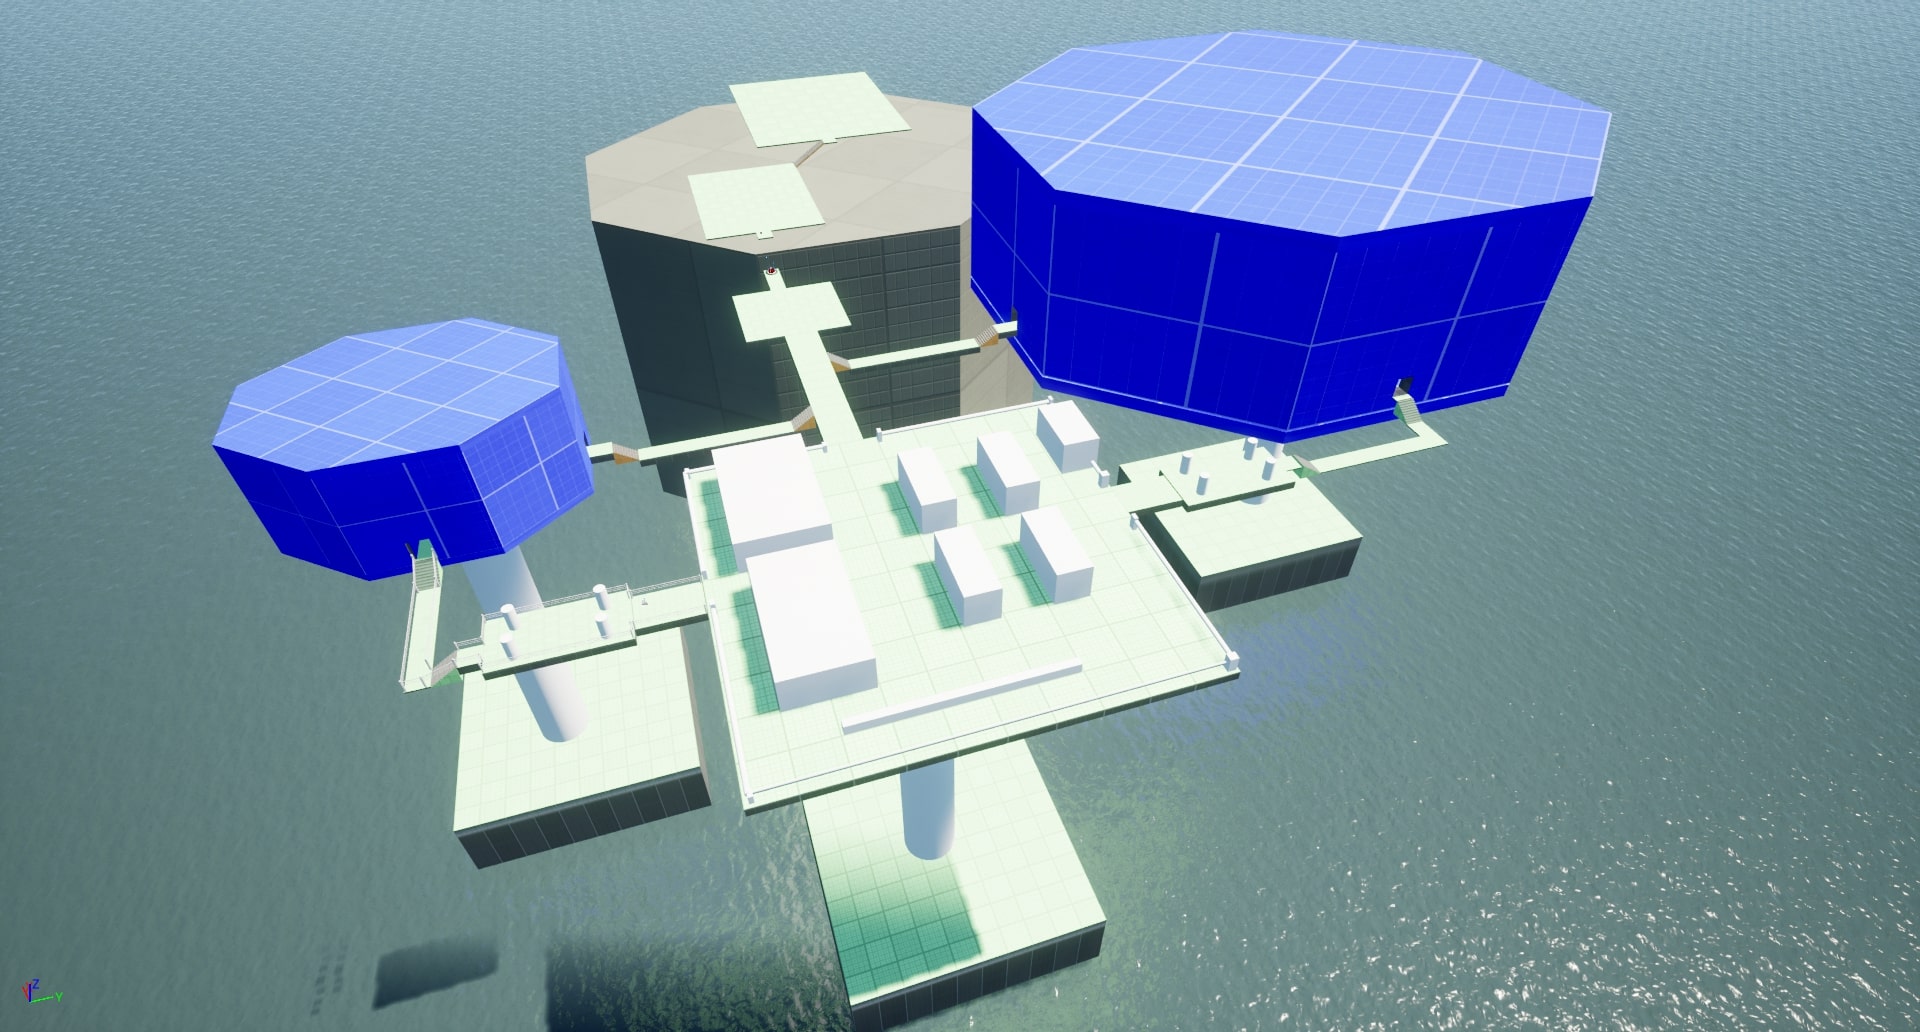
Beat 1: Offshore Rig
Once inside the rig, the player must make their way to one of the VIPs.
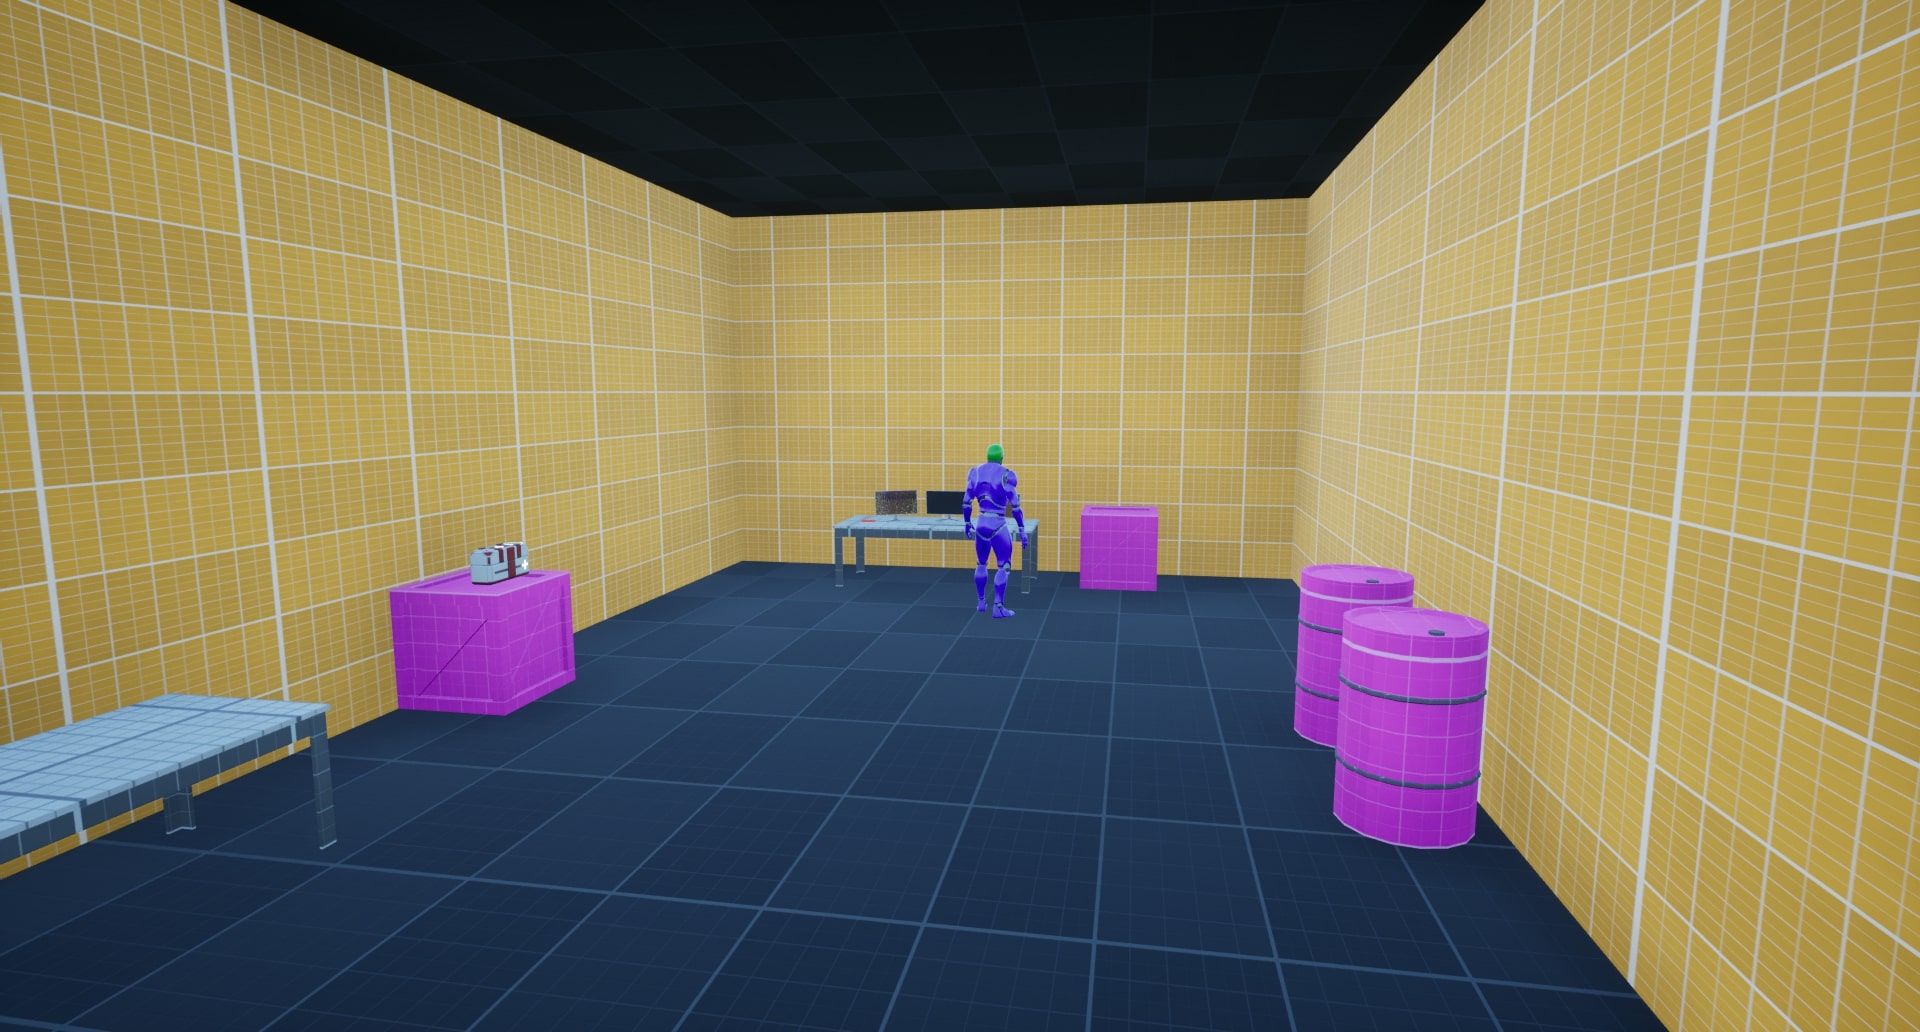
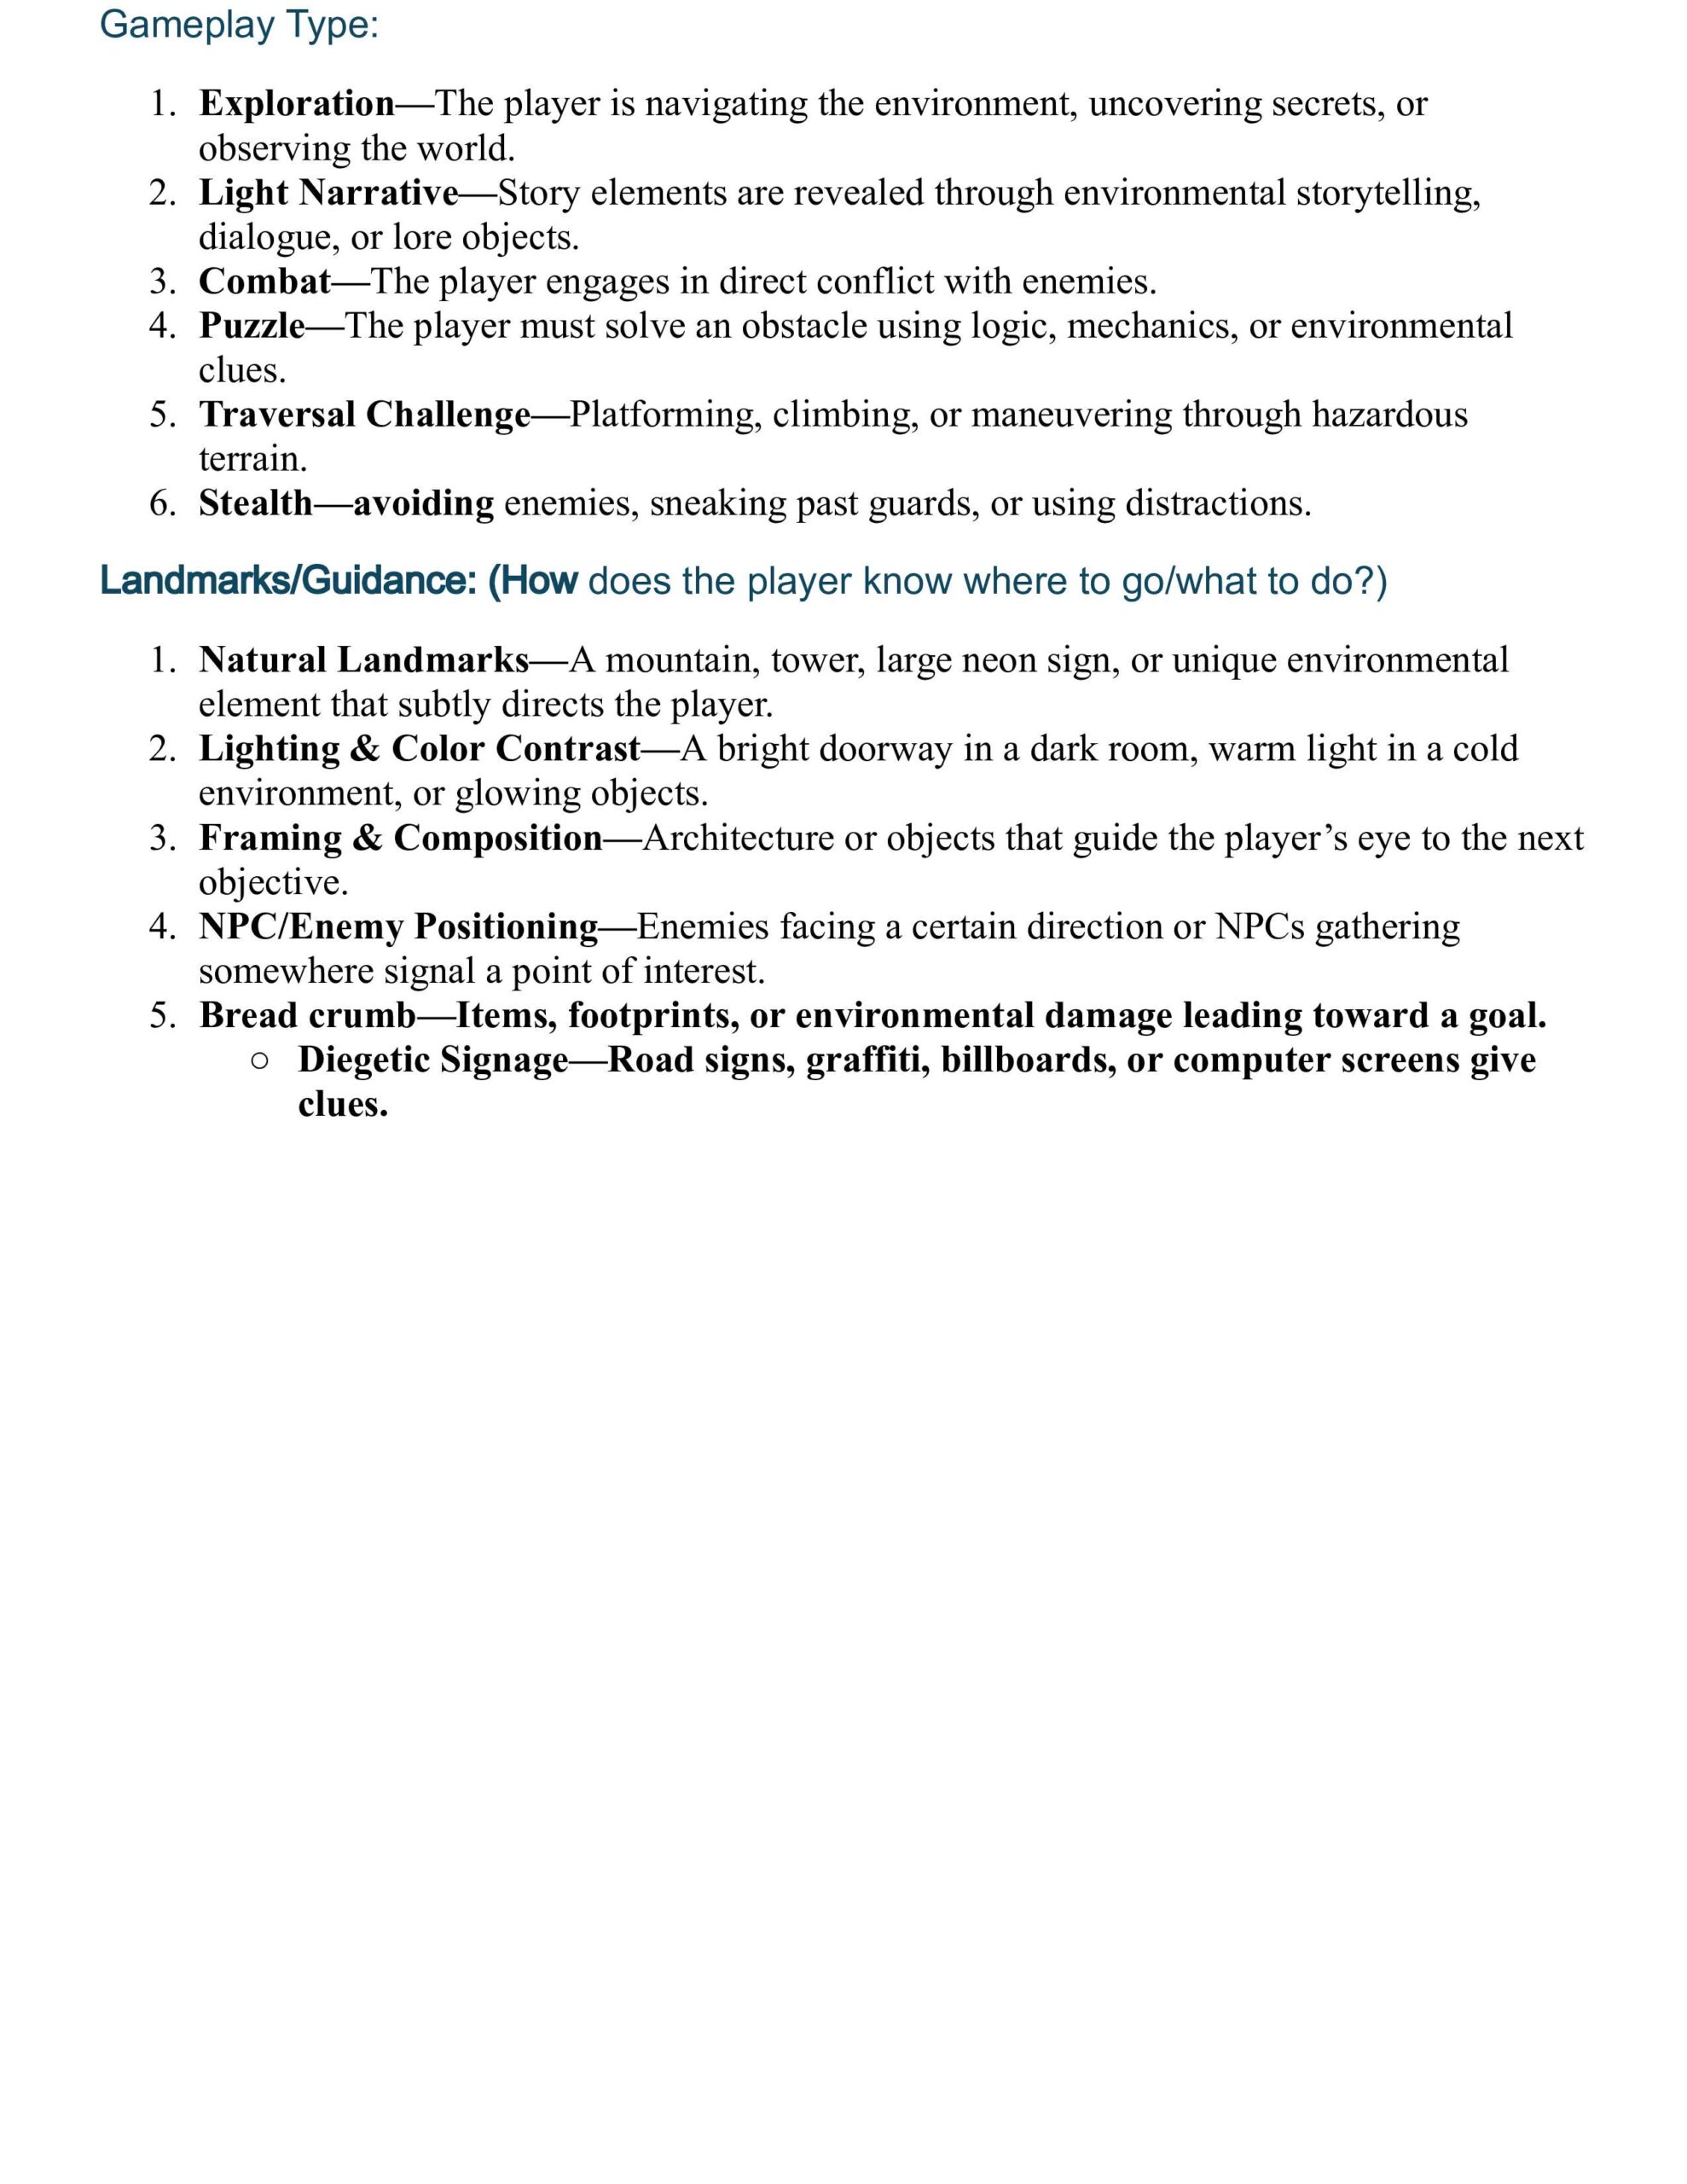
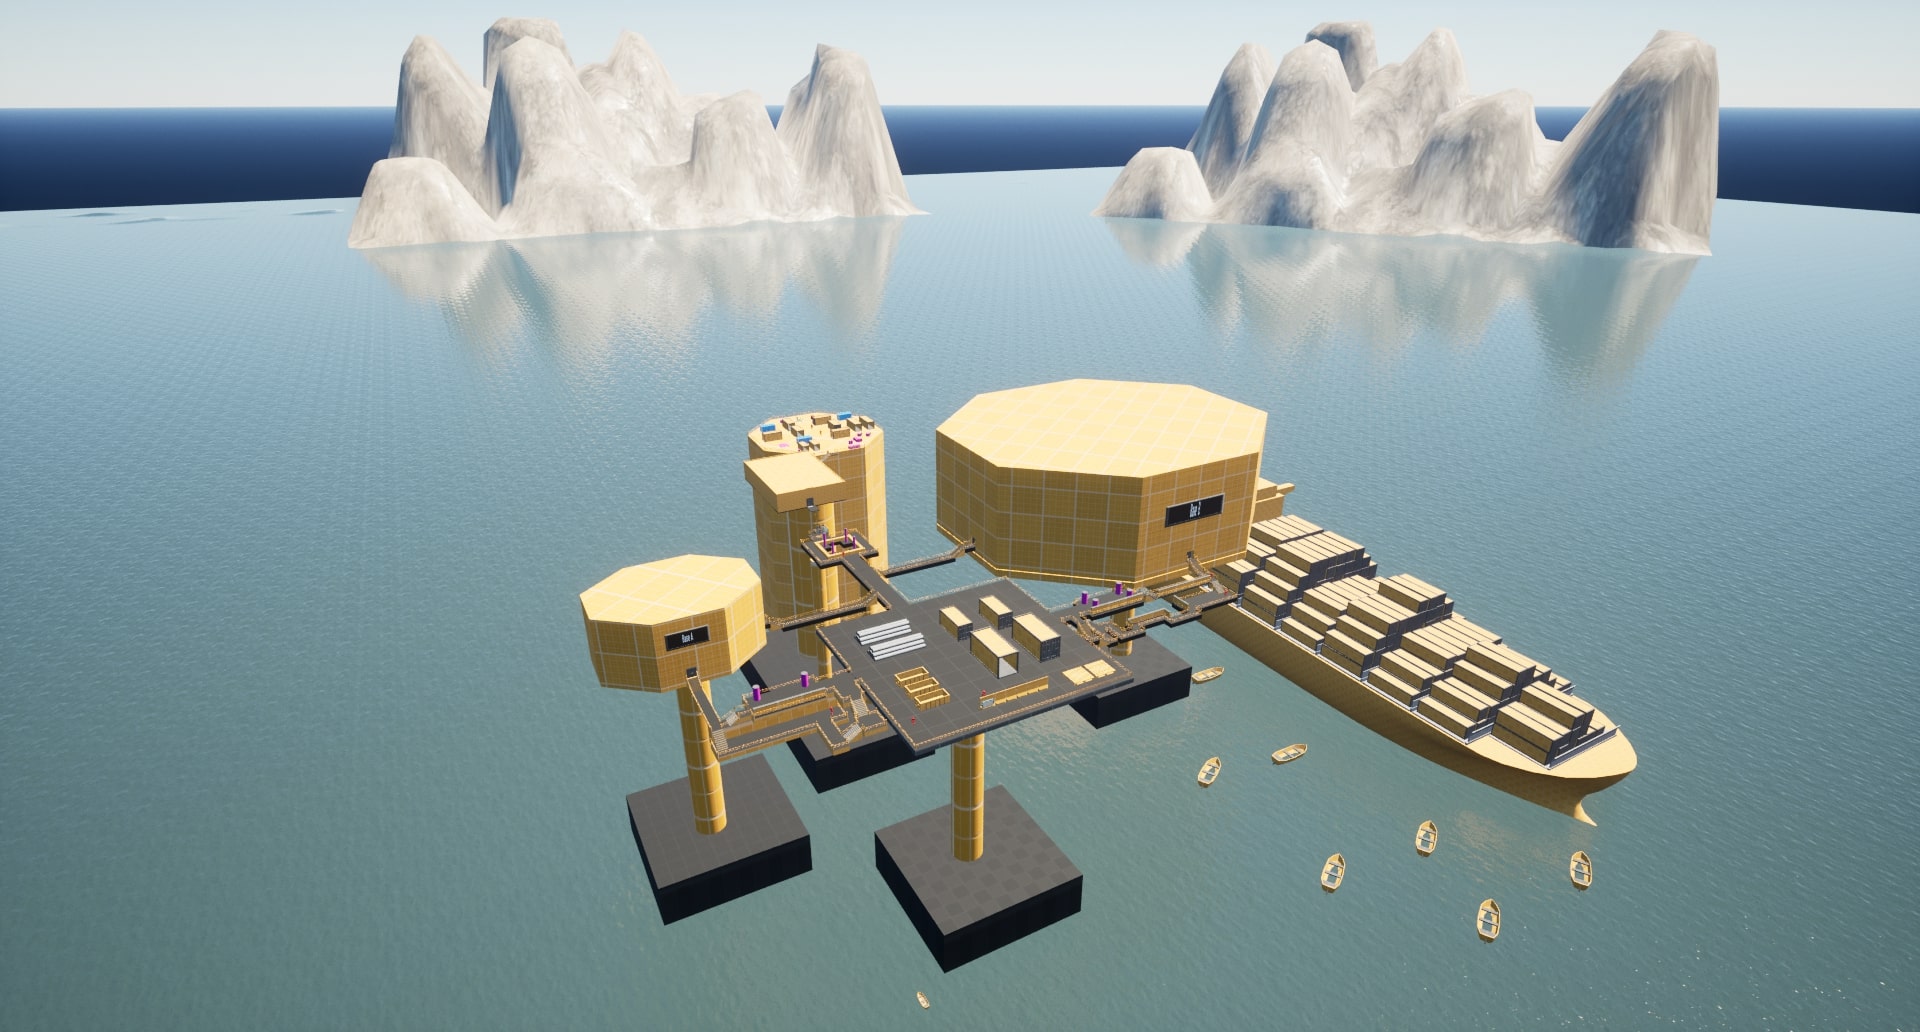
Beat 2: Base A
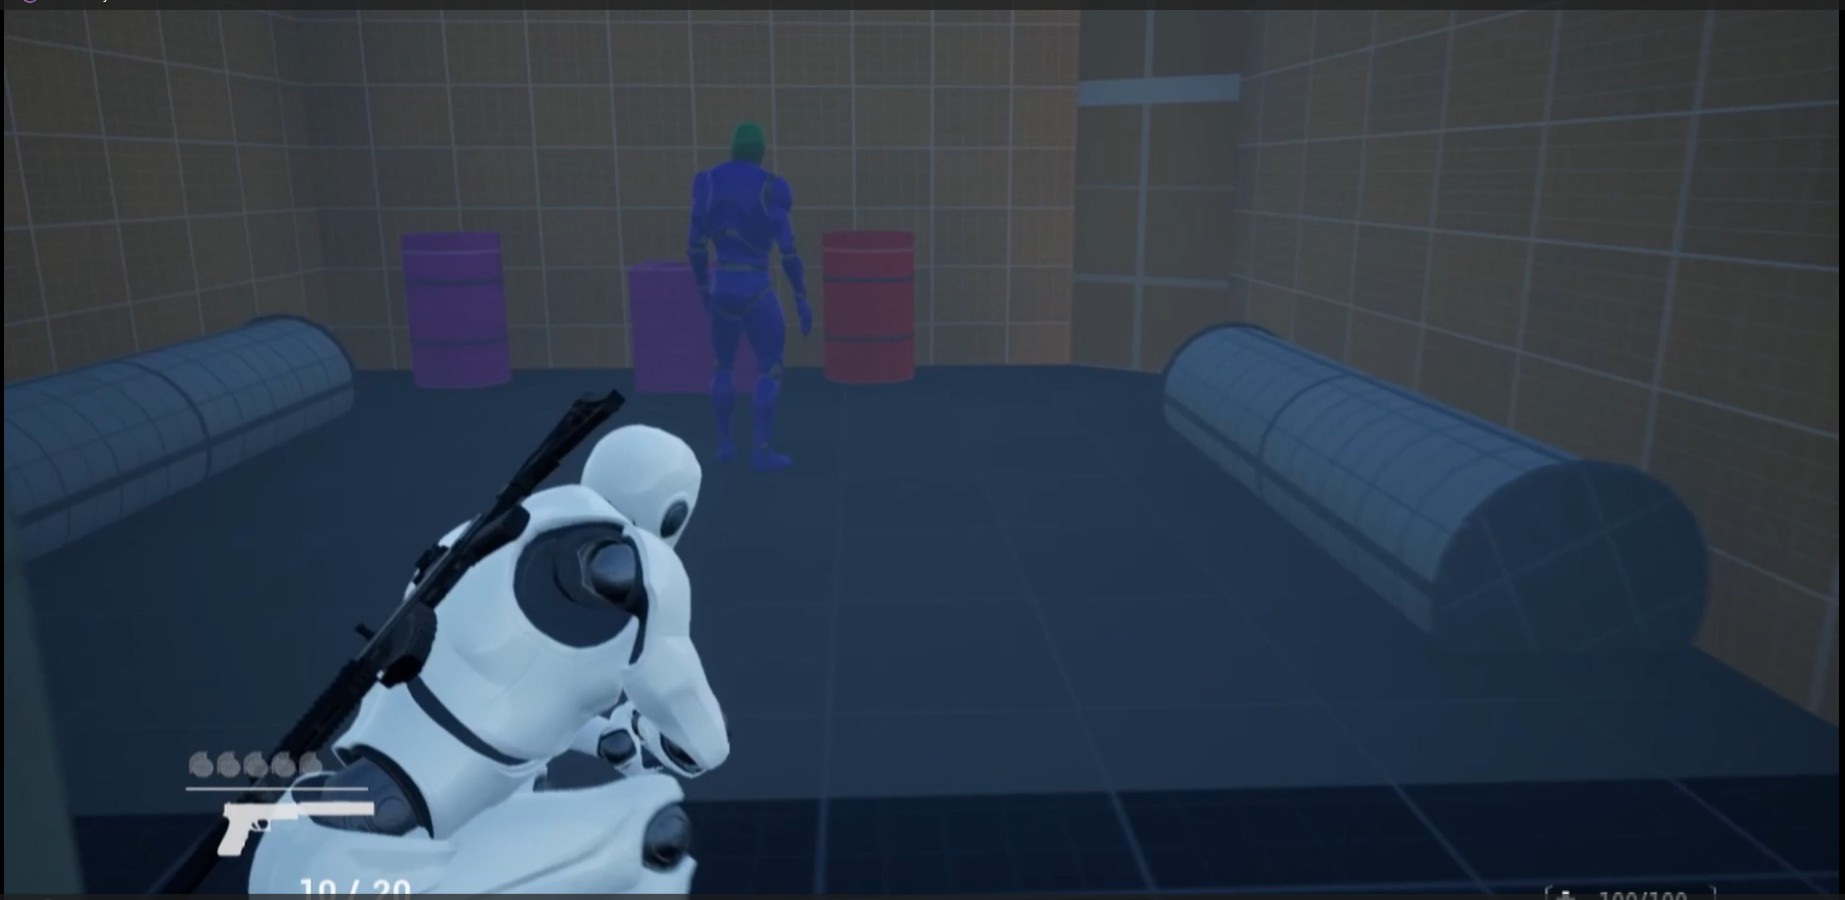
After taking down a few enemies using stealth, the player must make their way to Base A.
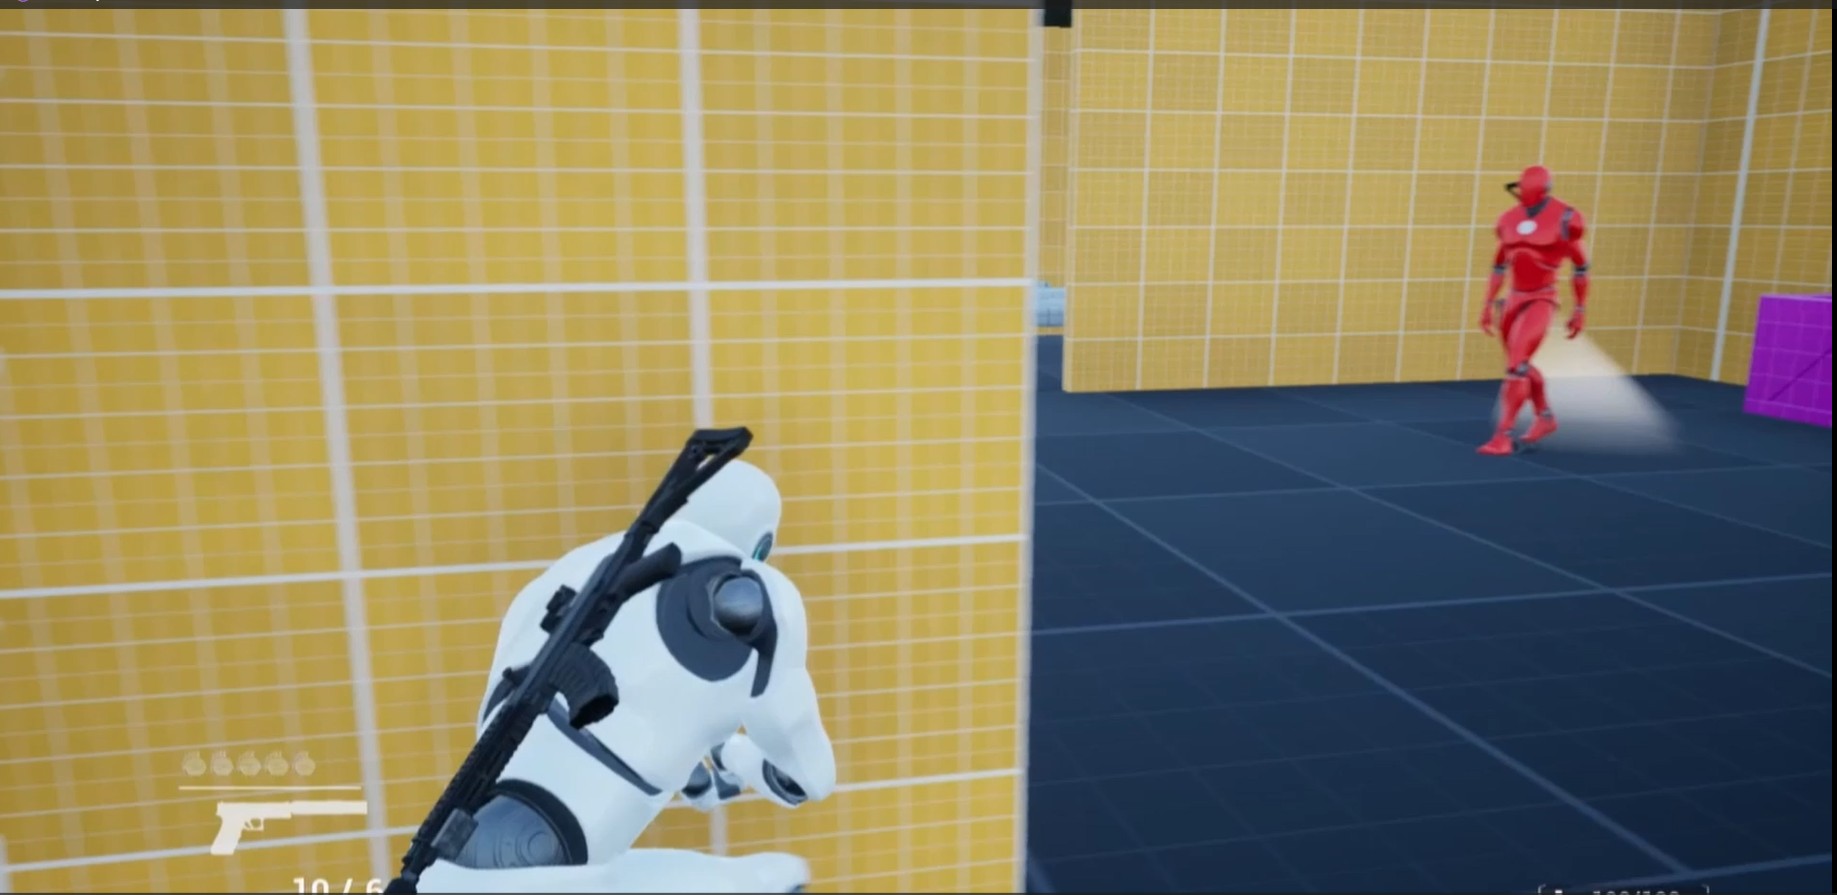
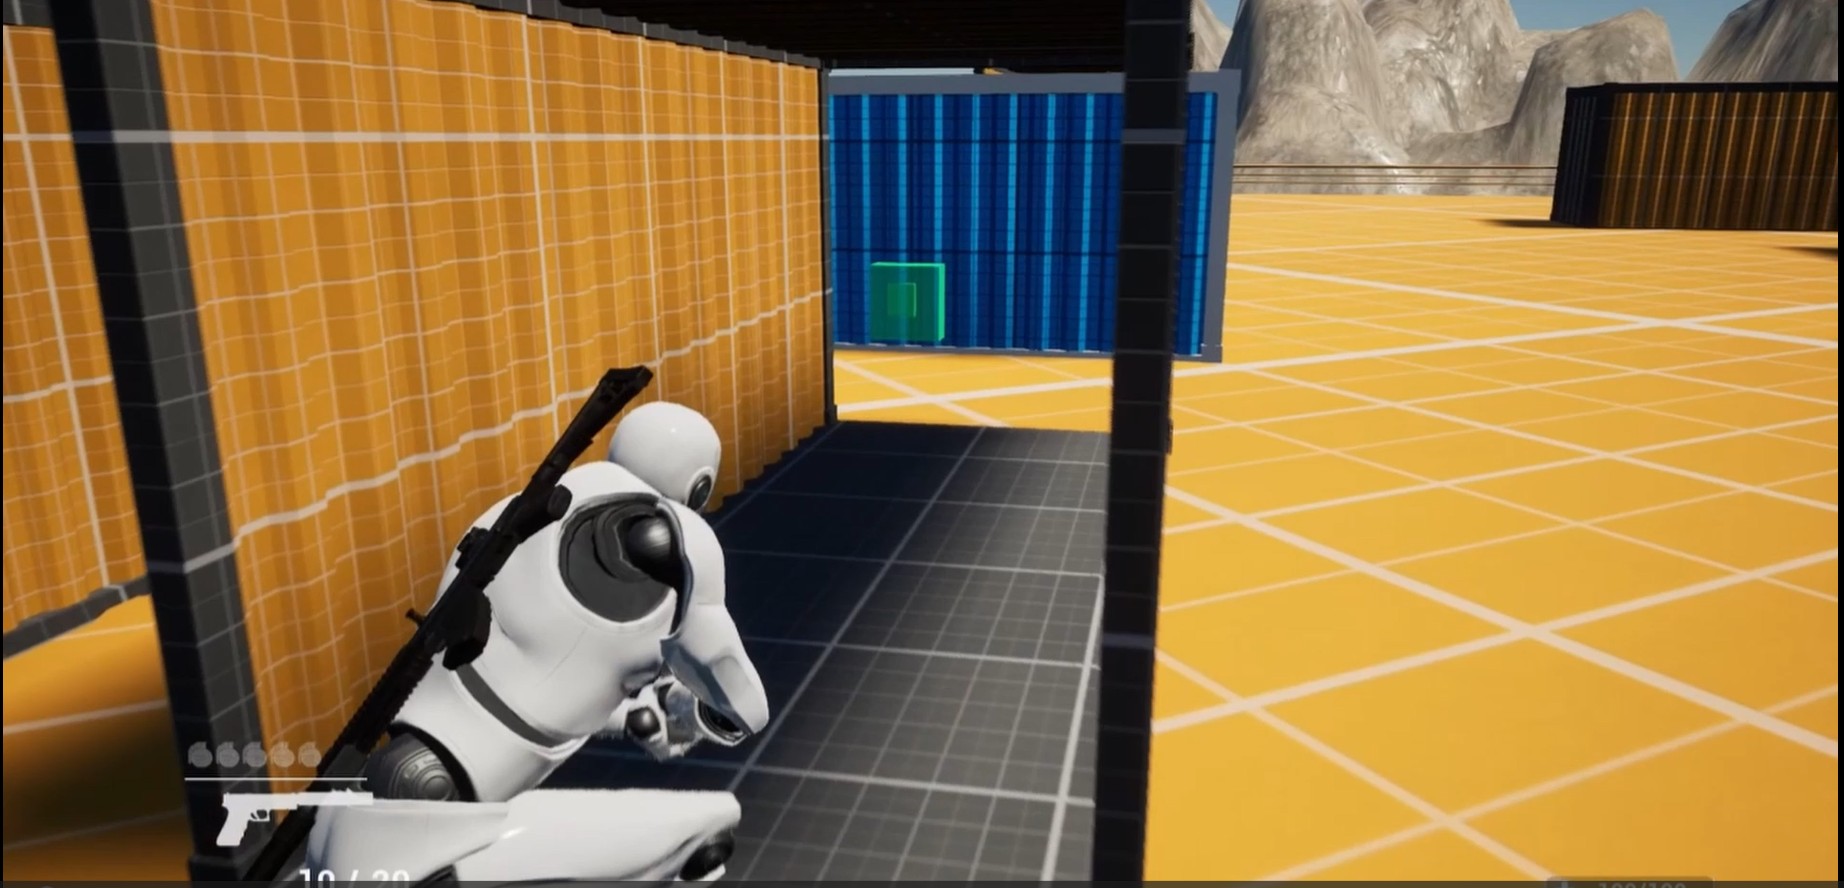
Beat 3: Force Field Door #1
The player must locate the control panel to shut down the first force field door to reach the VIP.
Beat 4: VIP #1
The player reaches the first VIP. Once the VIP is eliminated, a cinematic cutscene plays. The player must then retrieve the data located next to the VIP.
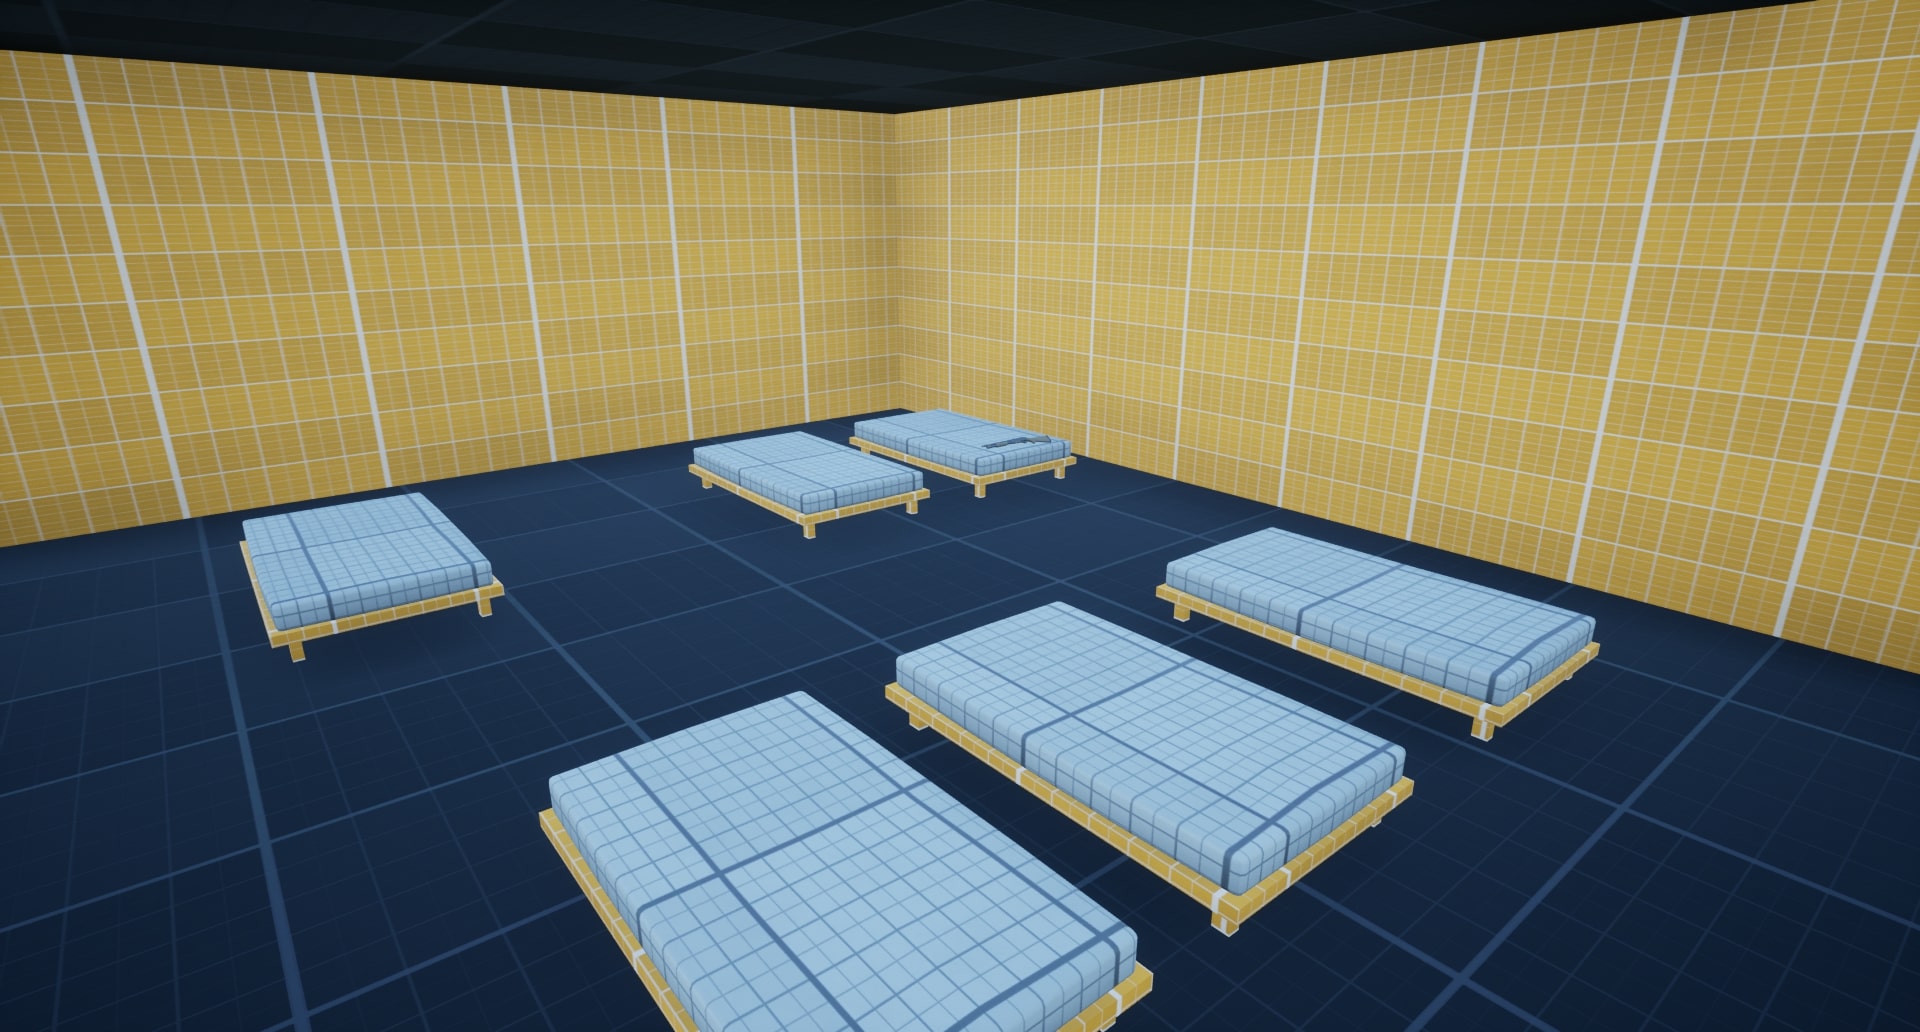
Beat 5: Base B
The player must now make their way to the second base, where the second VIP is located. Another stealth encounter awaits that the player must overcome.
Beat 6: Force Field Door #2
The player encounters another force field door blocking access to the second VIP and must find the control panel to deactivate it.
Beat 7: VIP #2
- After taking down the second VIP, another cinematic cutscene plays, revealing more information. The player must again retrieve the data located next to the VIP.
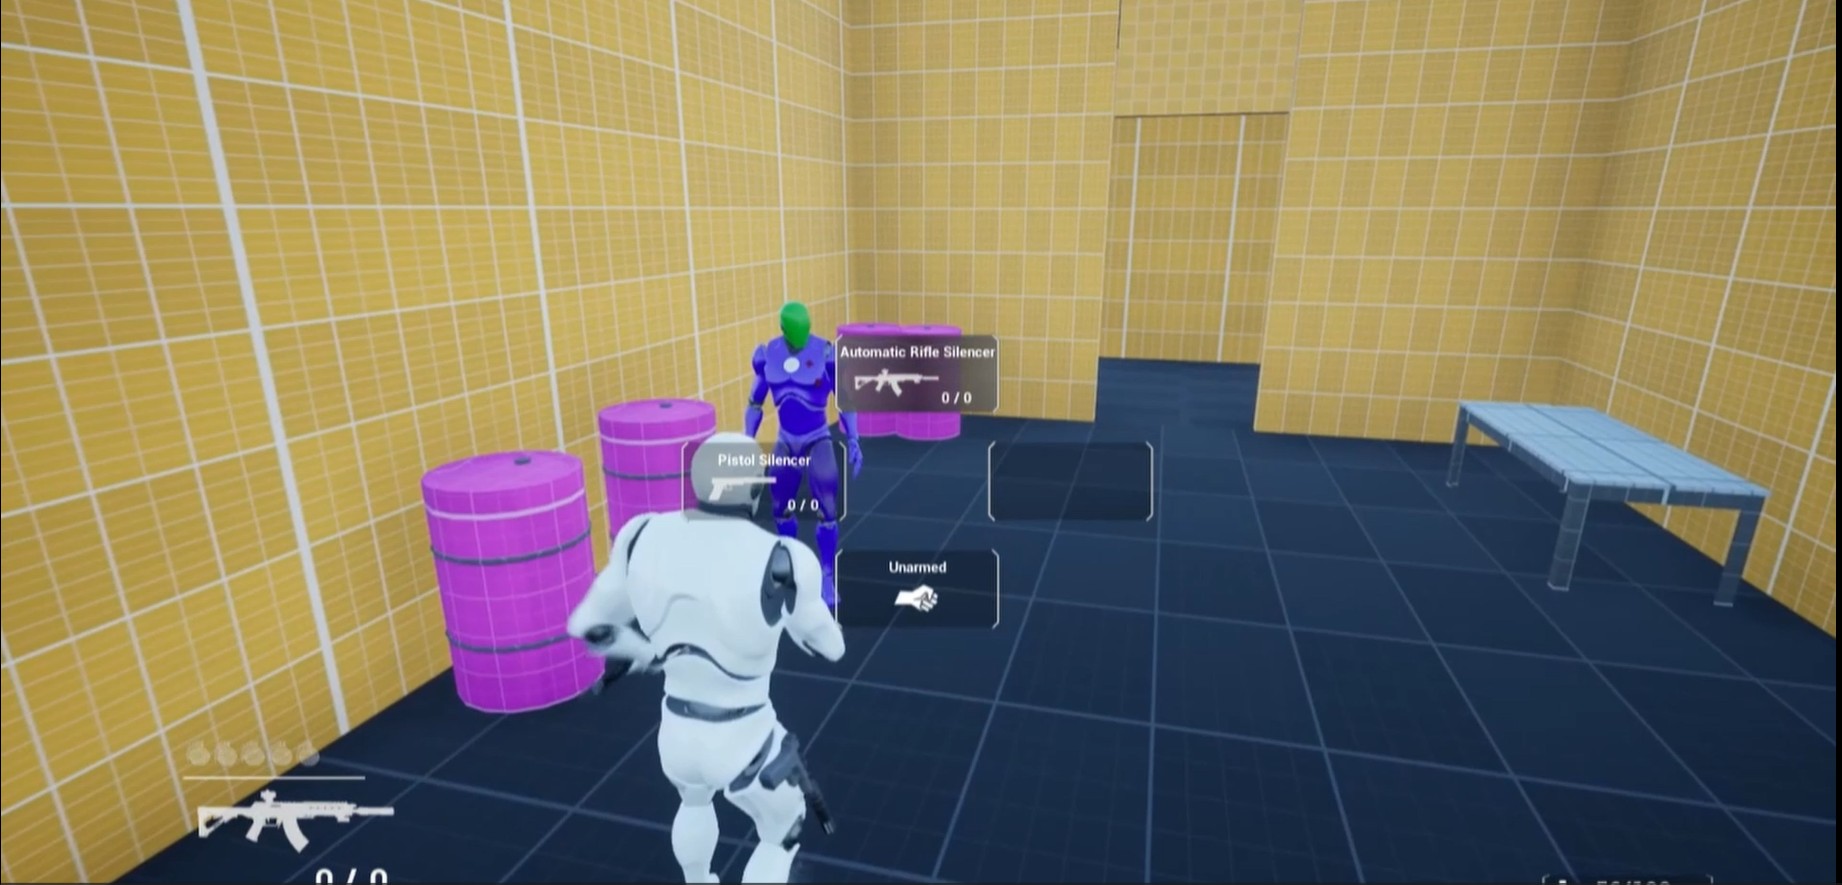
Beat 8: Weapon Factory
With both data keys collected, the player can now unlock the door leading to the Weapon Factory, where they must take pictures of the evidence.
.
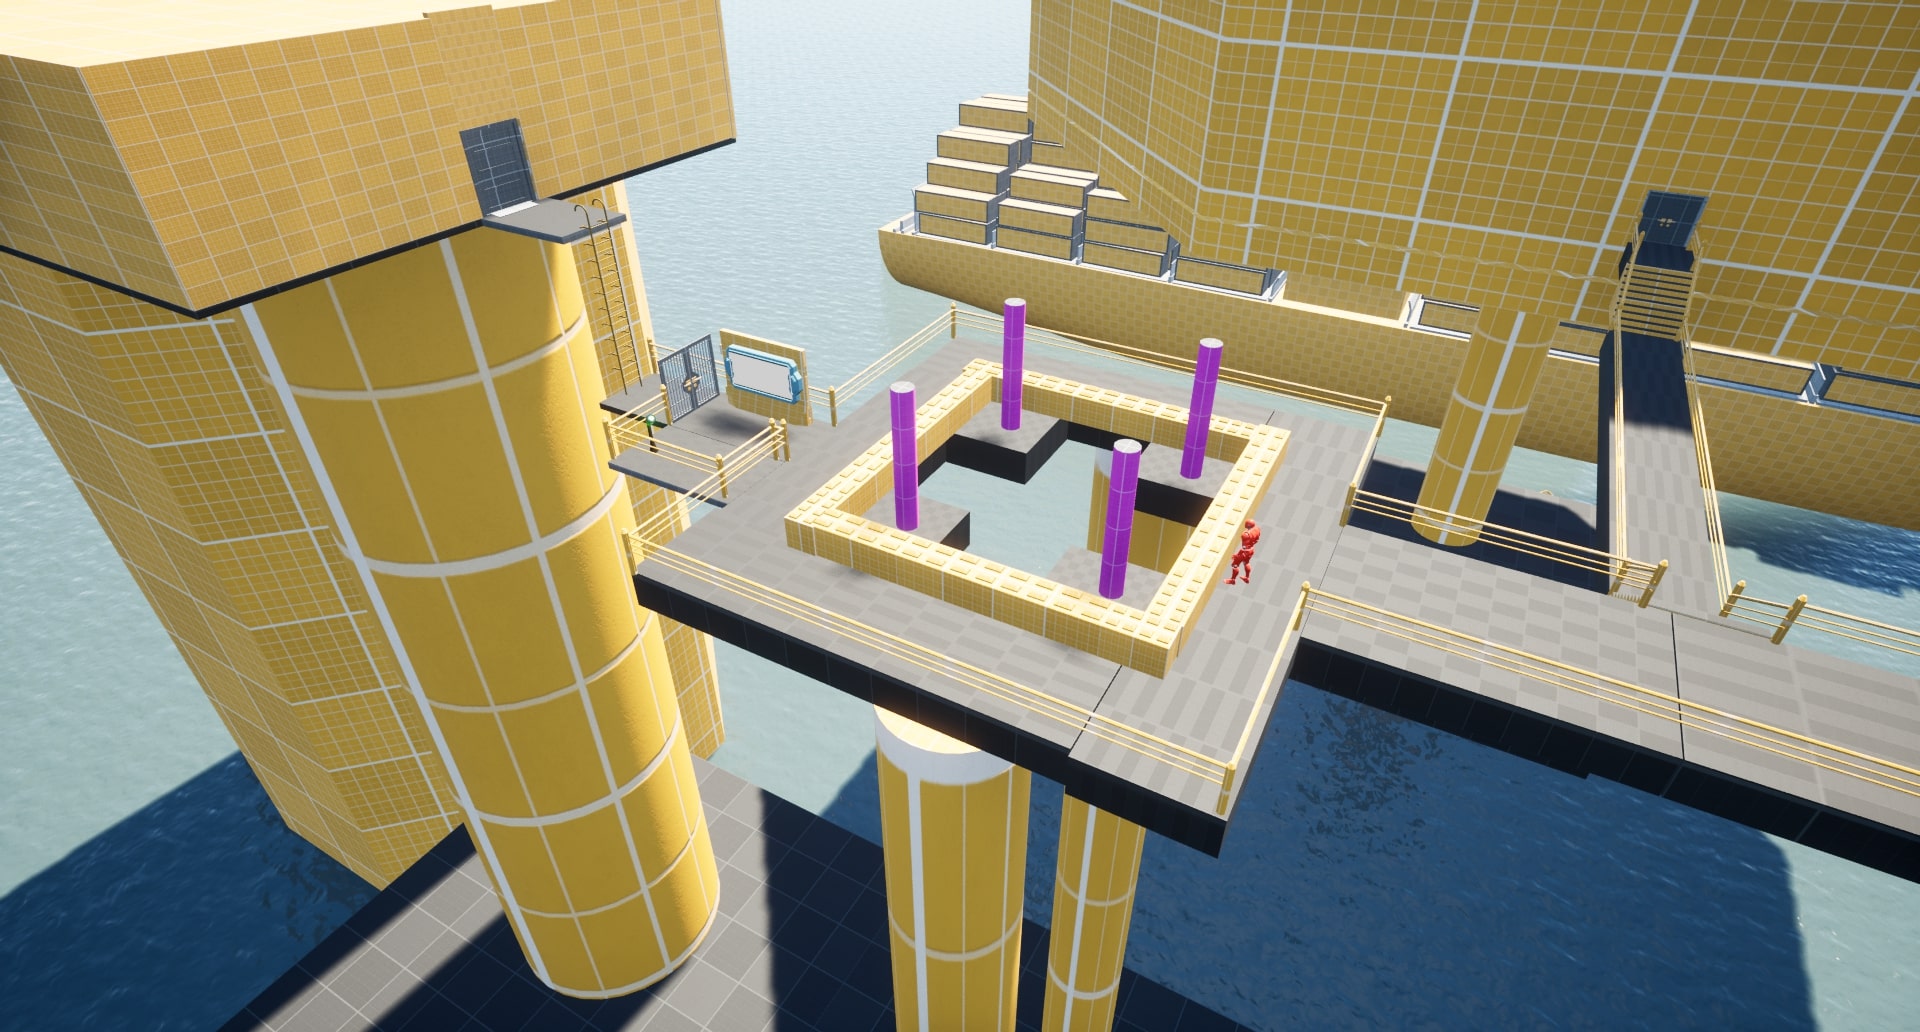
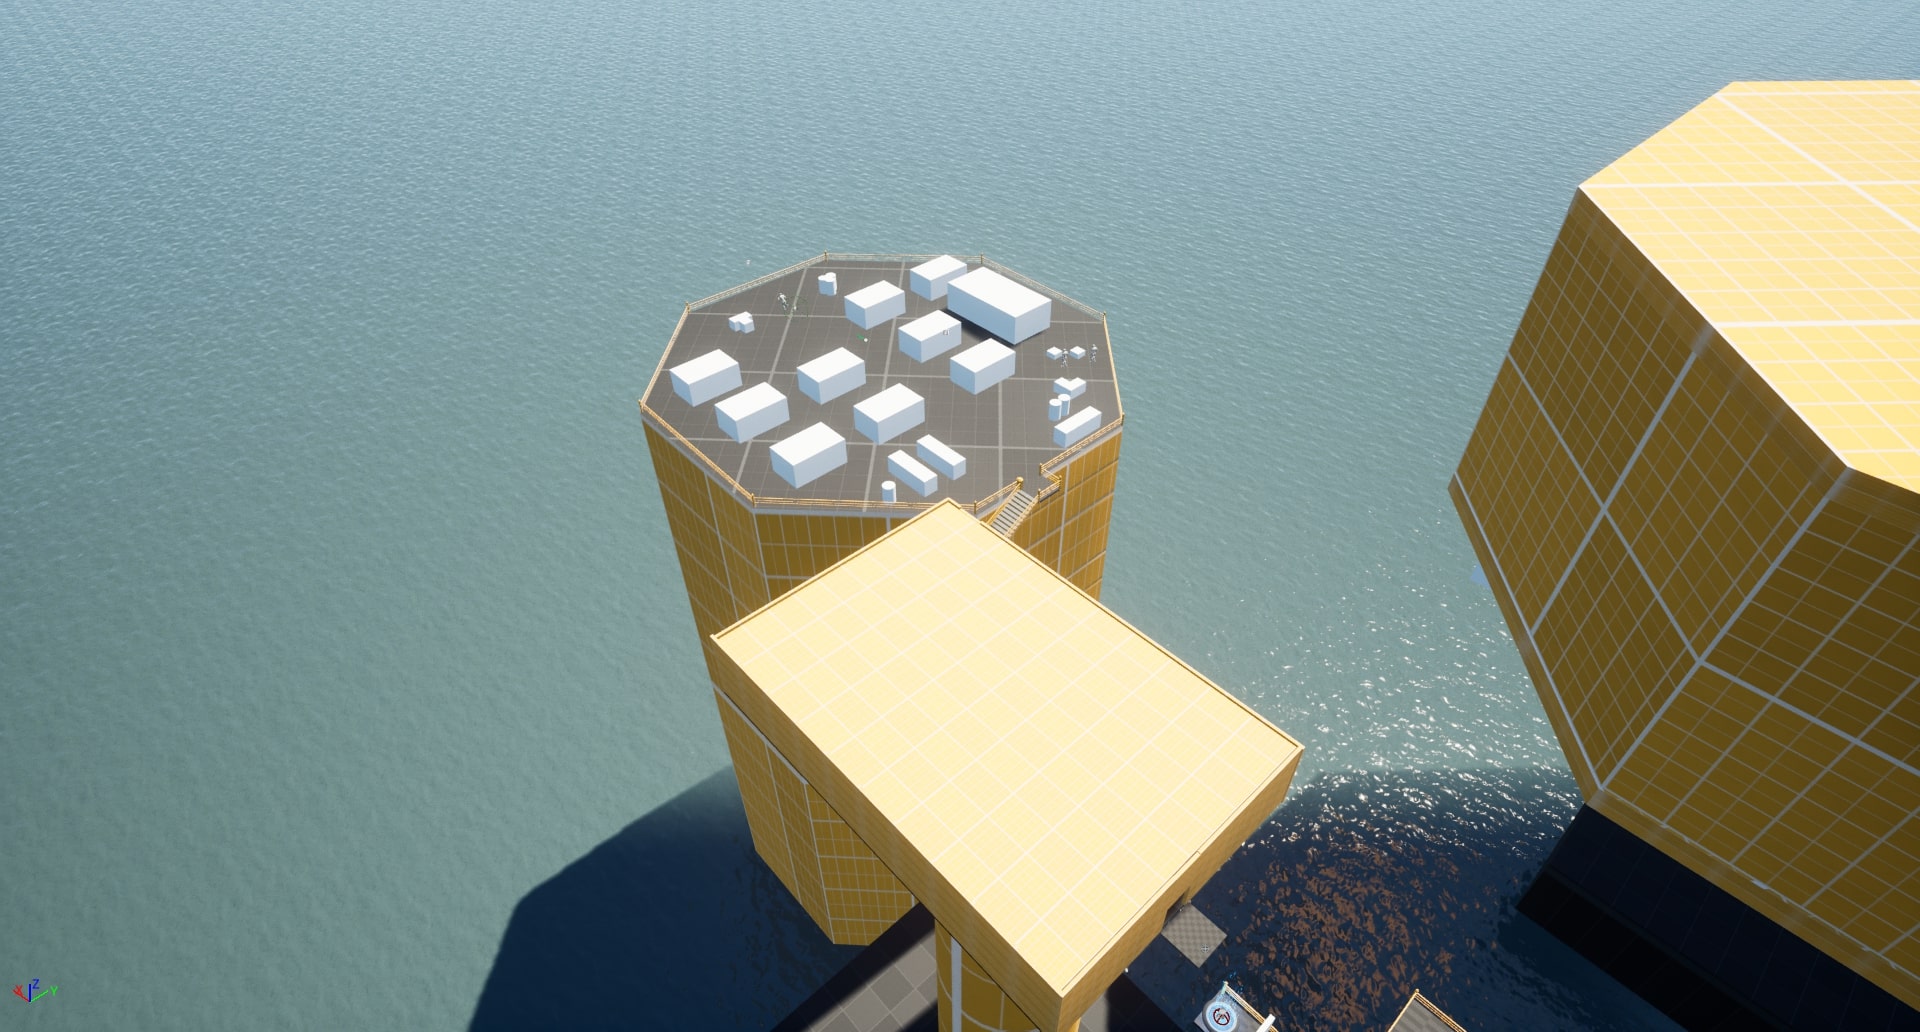
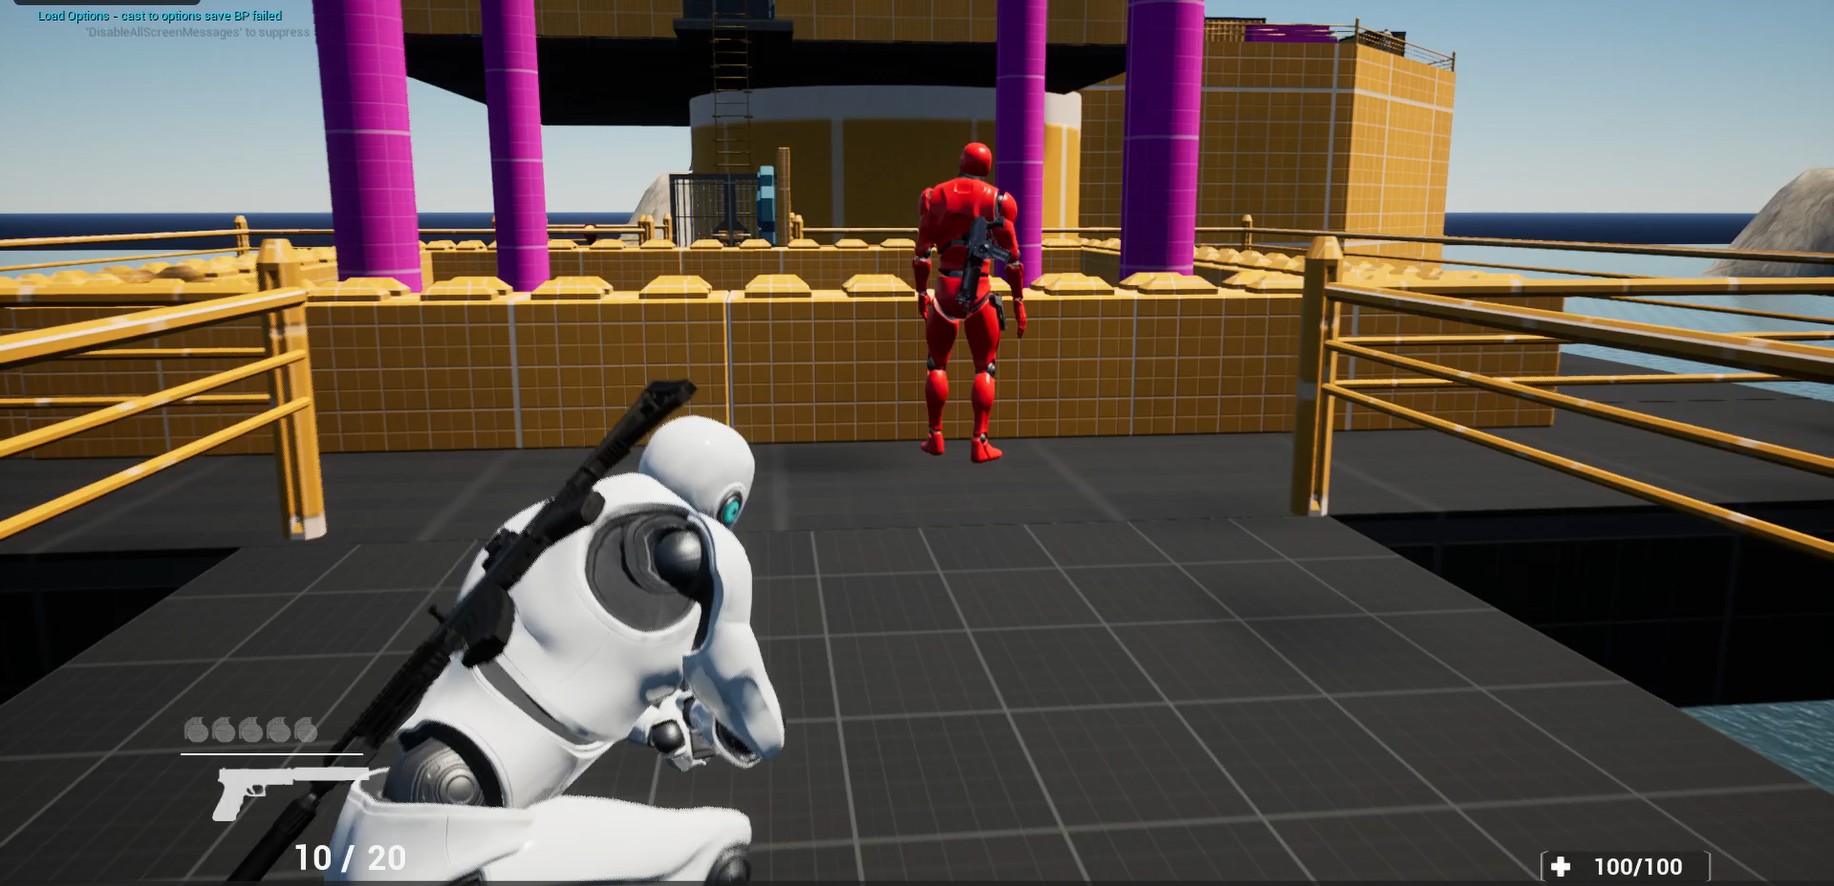
Beat 9: Helipad
For the final cinematic sequence, the player must plant all the bombs to destroy the oil rig. A final cutscene then plays, showing the player escaping as the rig explodes.


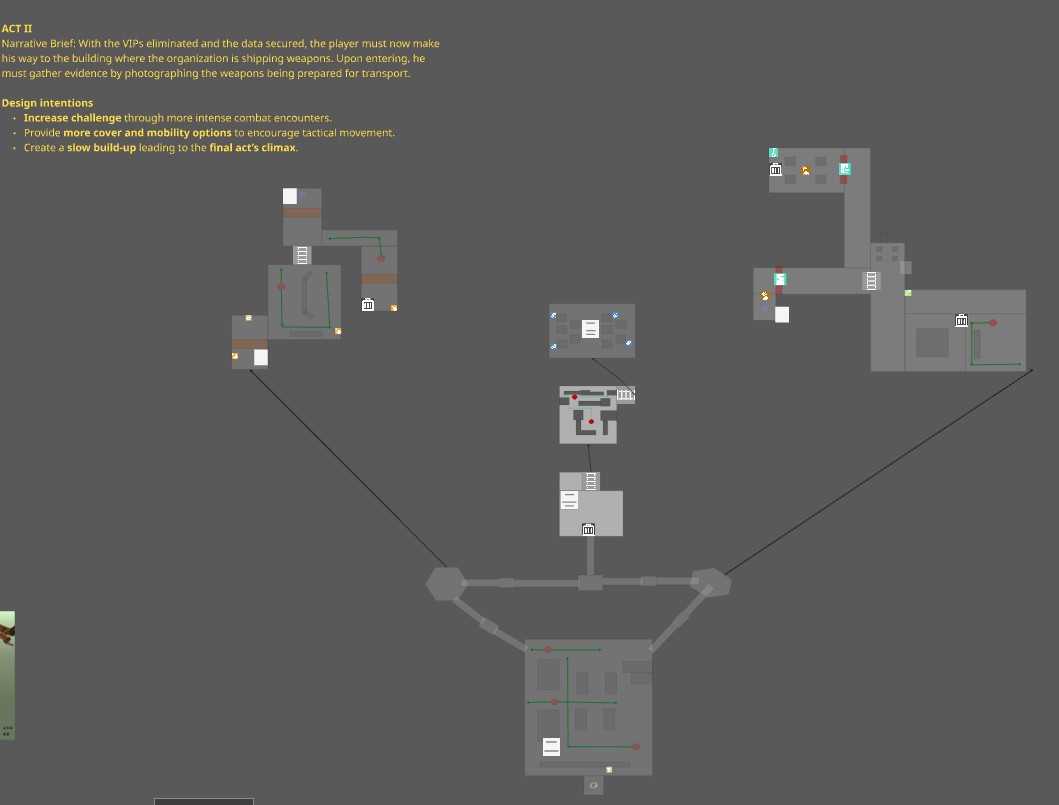
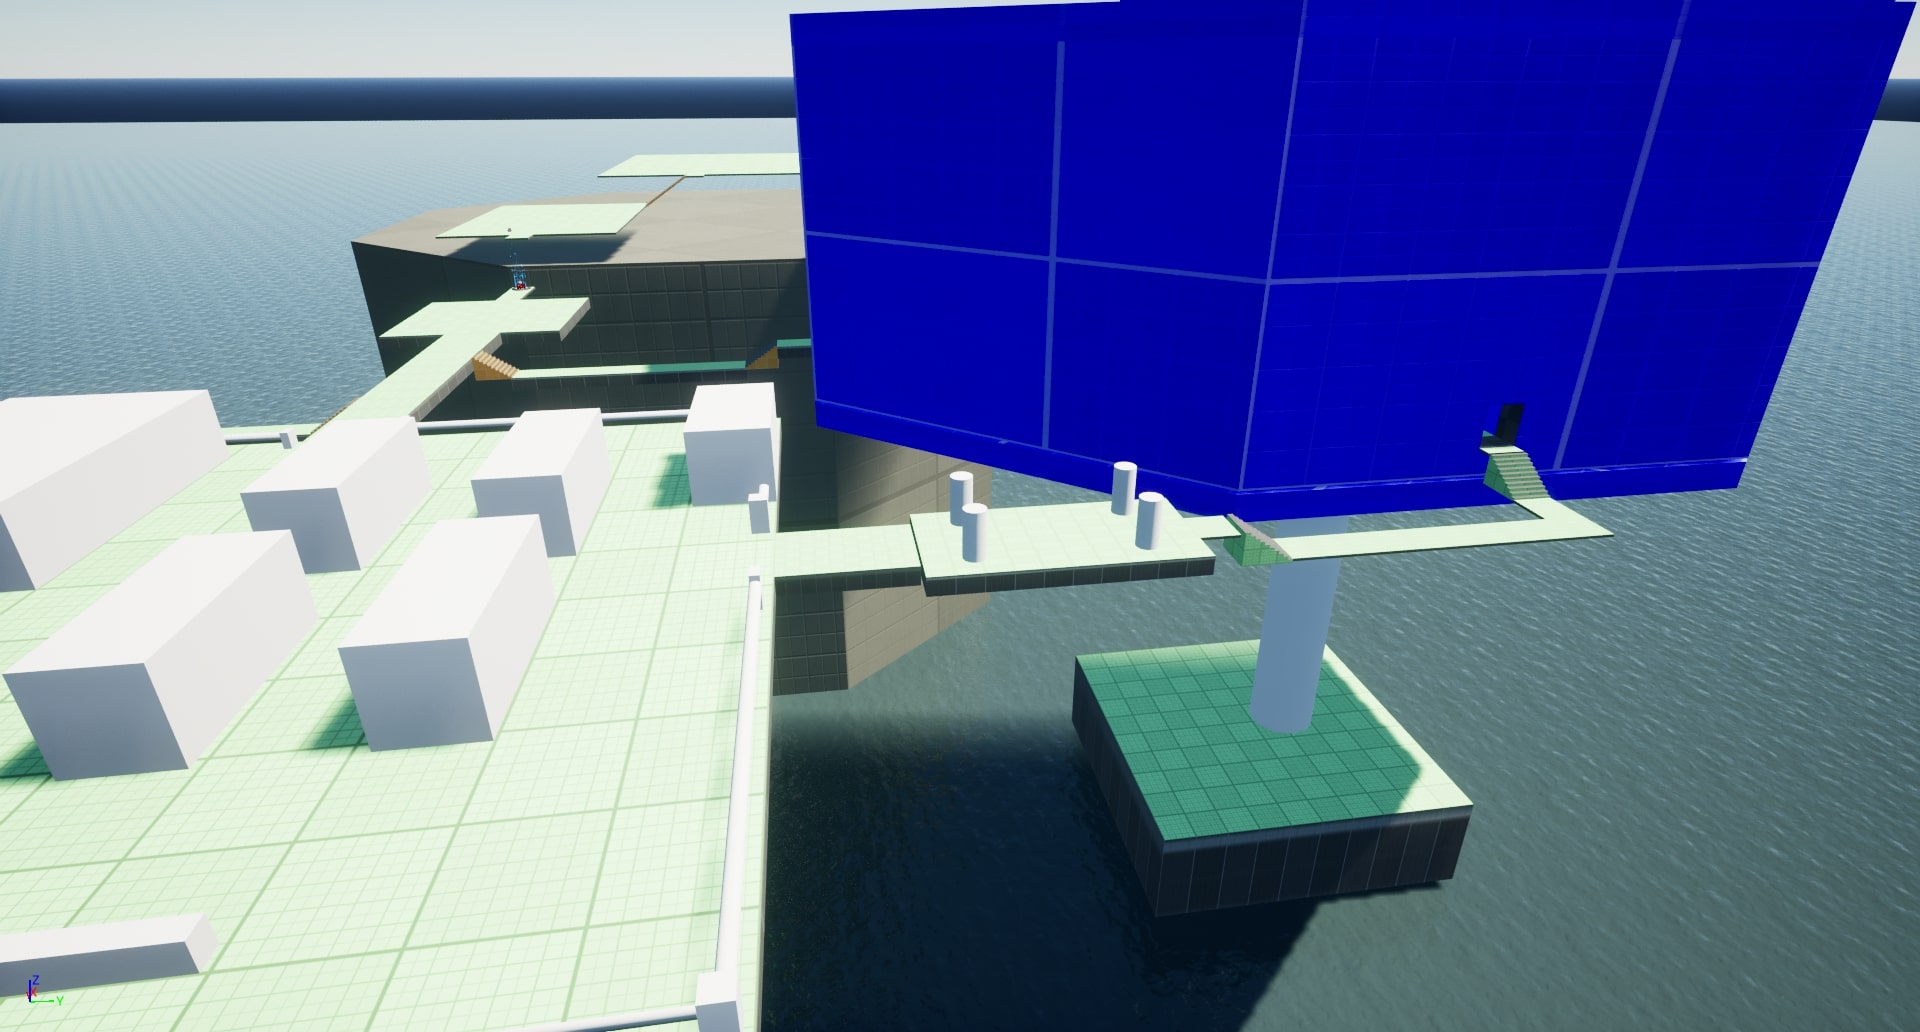
Second Iteration
I decided to revisit my project and refine these key areas.
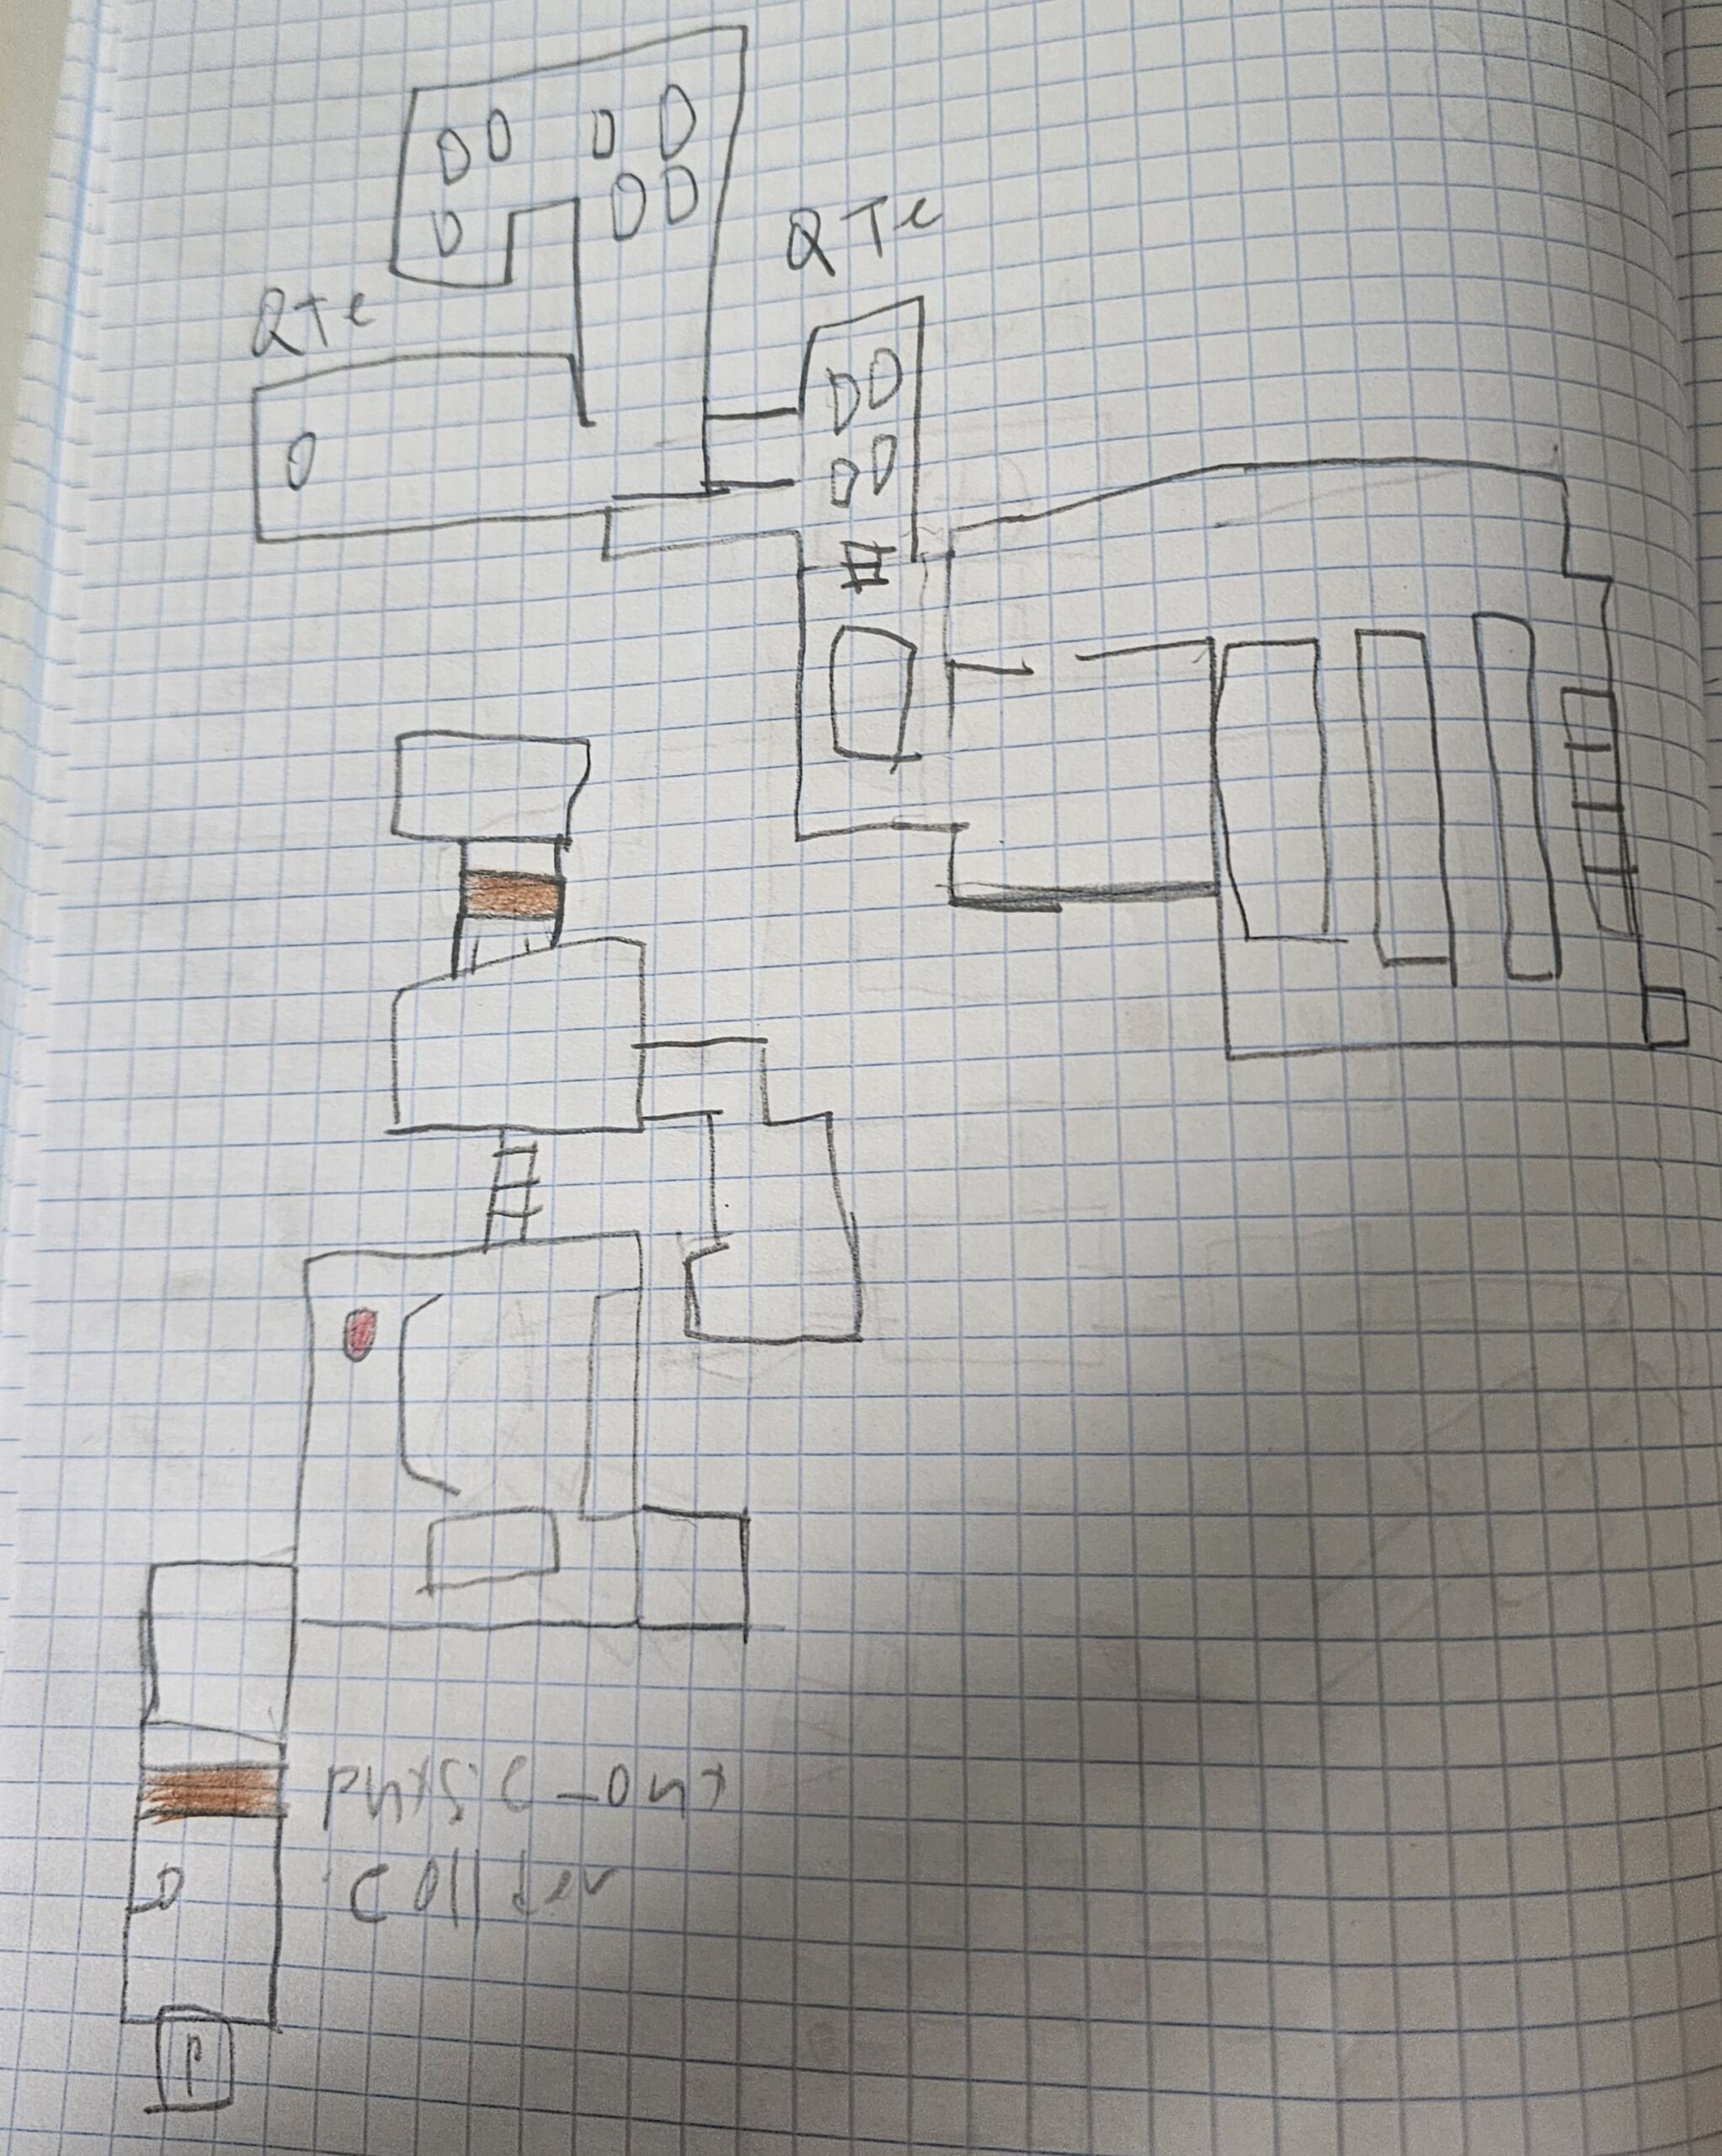
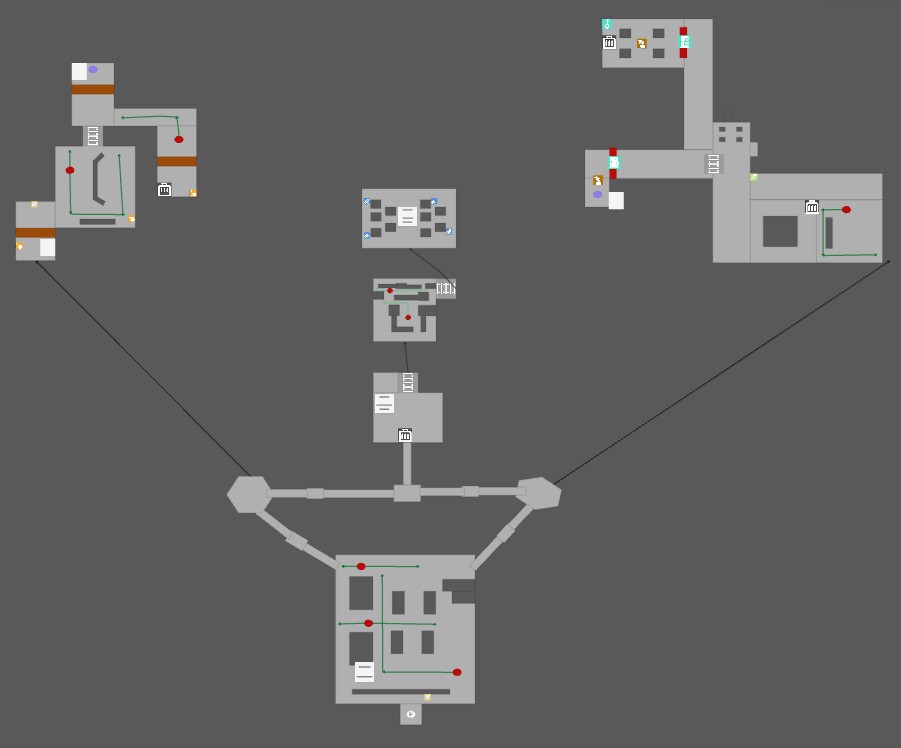
- Redesigned most levels to improve variety, cover, and enemy placement in both main bases.
- Added sunlight direction to help players better distinguish between bases.
- Reworked the final area and adjusted story beats for smoother narrative flow.
Problem: The player often gets lost, unsure which base or main area they’ve just visited.
Solution: Improved sign placement to give the player clearer directions.
Problem: The last area didn’t flow as intended.
Solution: Added two new sections to the final area to improve story pacing and flow.
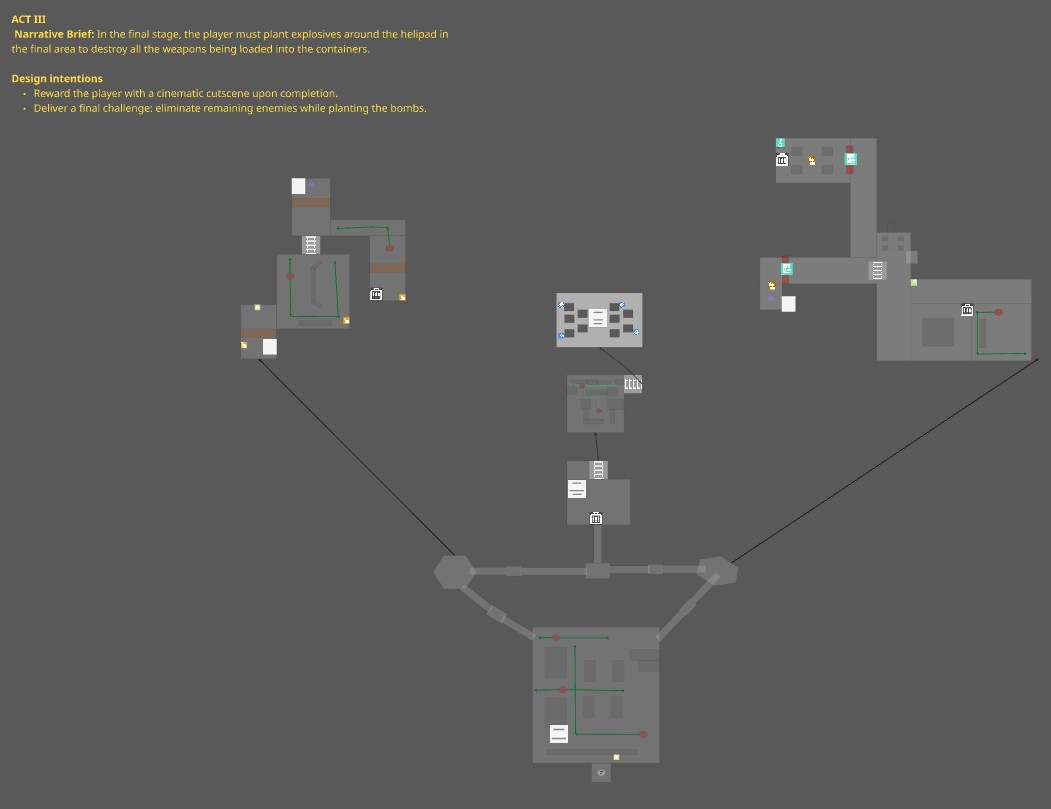
Third iteration
I decided to revisit my project and refine these key areas.
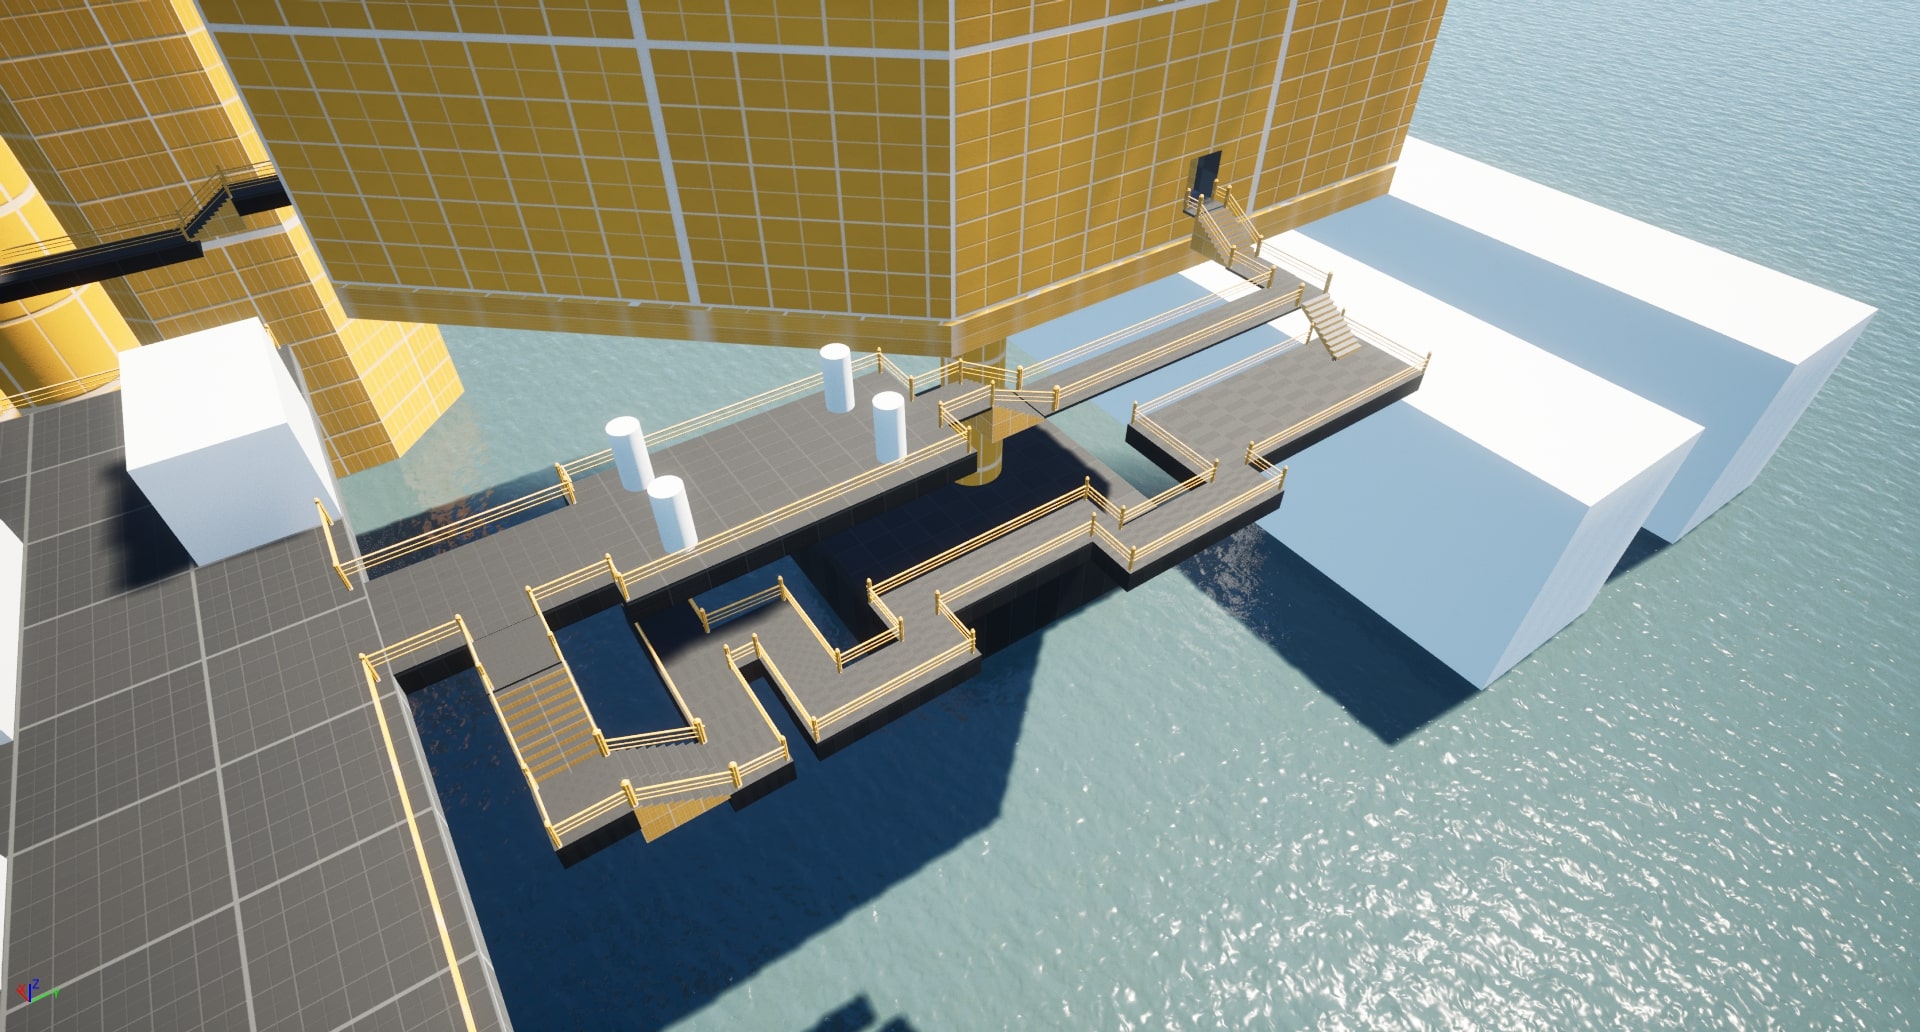
- Added a sidewalk to each route leading to the main bases.
- Reworked a section of the final area to fine-tune gameplay difficulty.
Problem: The combat leading to both main bases didn’t feel challenging.
Solution: Added a sidewalk to each path leading to the main bases, increasing both challenge and variety in the objectives.
Problem: The combat leading to the final sections of the game lacked challenge.
Solution: Reworked part of the last area—replacing a straight path with one that requires the player to dodge enemy patrols.
Fourth iteration
I decided to revisit my project and refine these key areas.
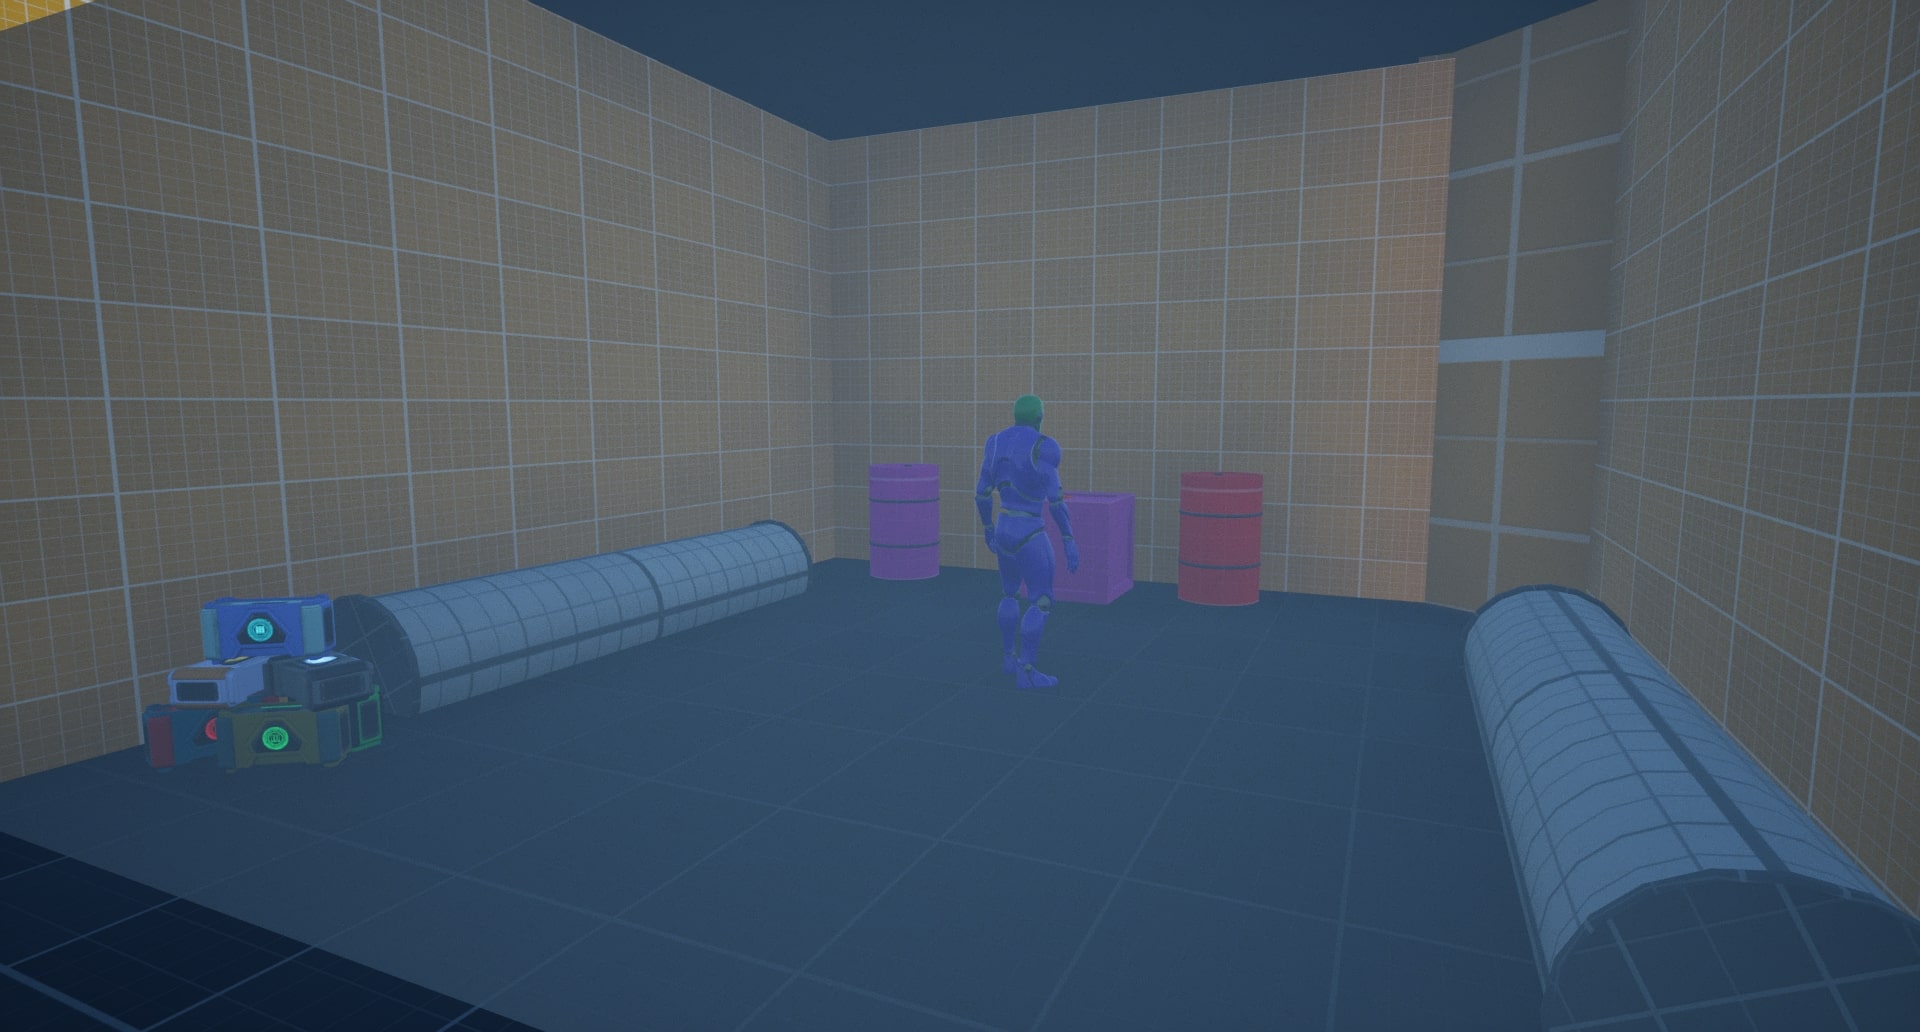
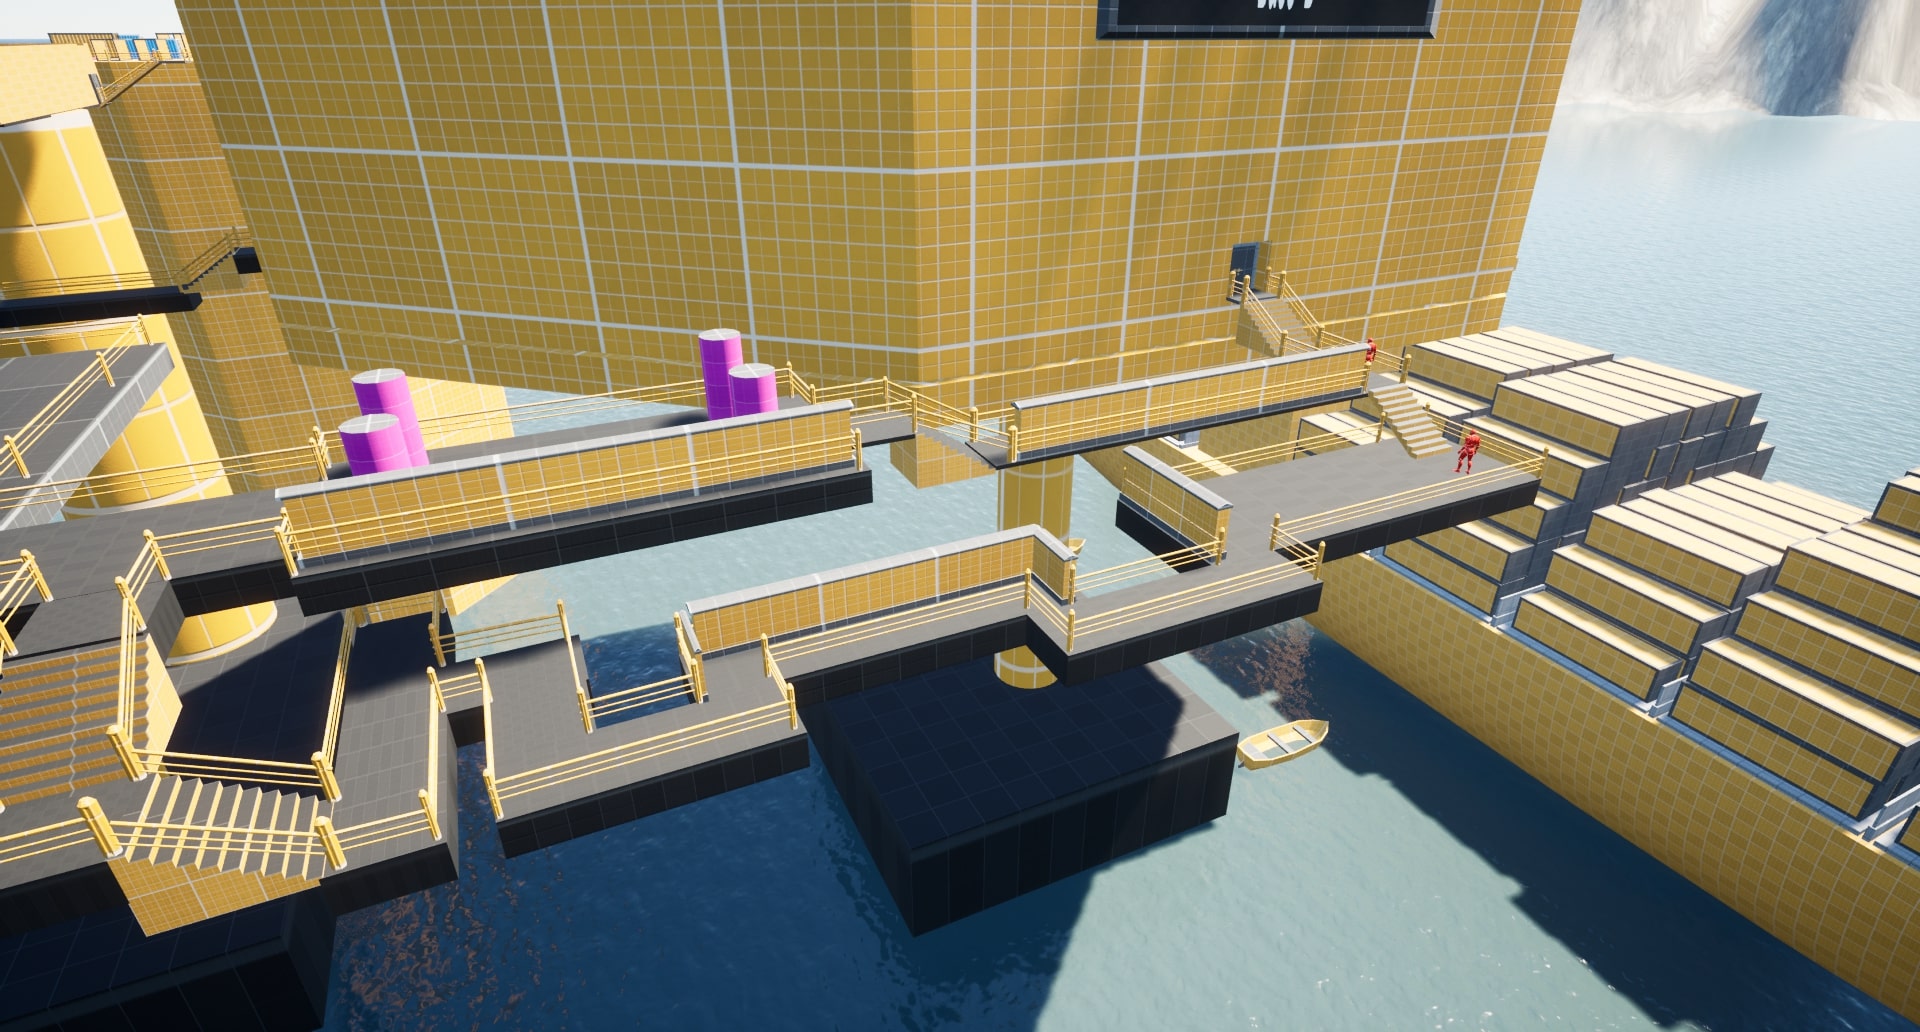
- Added additional cover alongside routes leading to the main path.

Problem: There wasn’t enough cover in the side areas, causing the player to be spotted easily.
Solution: Added multiple types of cover to give the player more tactical options.
Fifth iteration
- I decided to revisit my project and refine these key areas.
- Increased ammo and weapon variety throughout the level.
- Added a gate in the final section to prevent players from skipping ahead.
- Increased difficulty in the VIP sections
Problem: The combat area lacked immersion and failed to engage the player.
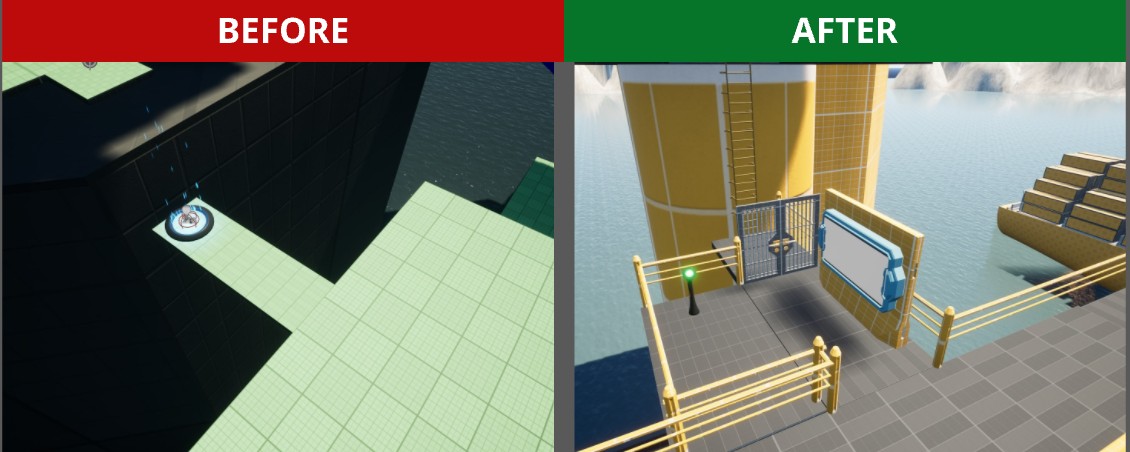
Problem: The player could reach the final part of the level without completing the objective of eliminating the VIPs.
Solution: Added a gate blocking the final area. It can only be unlocked by securing both data points located next to the VIPs.
Sixth iteration
I decided to revisit my project and refine these key areas.
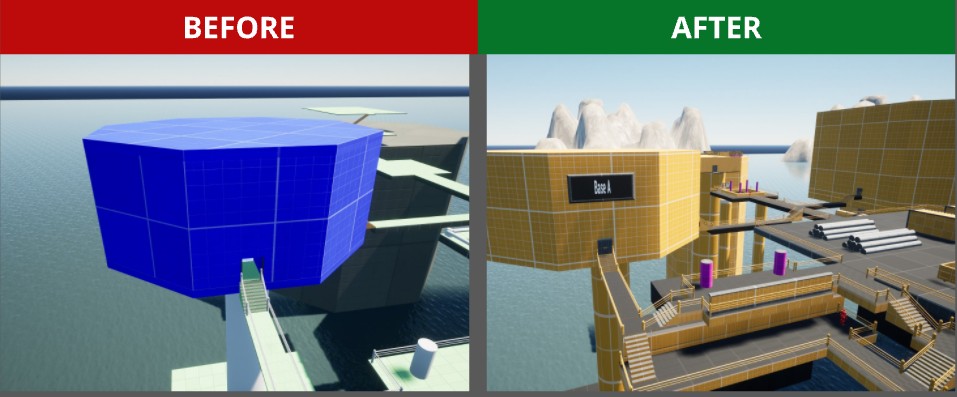
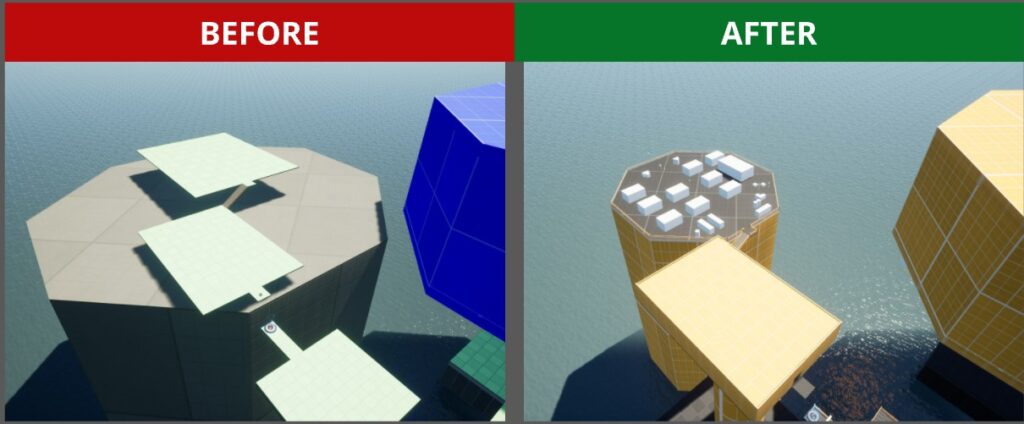
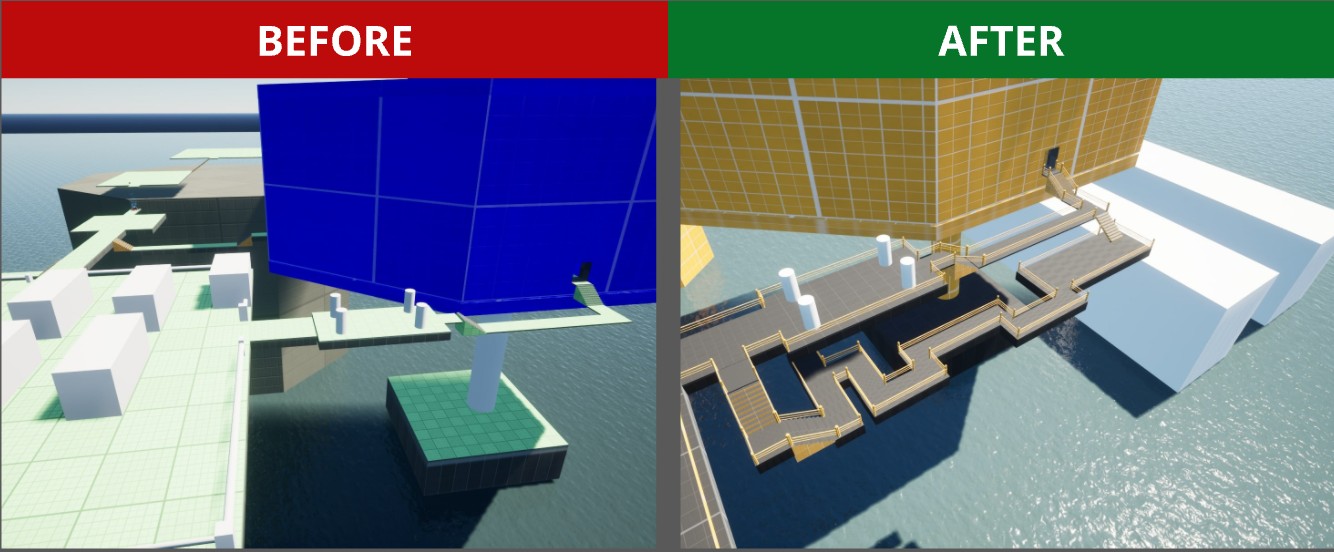
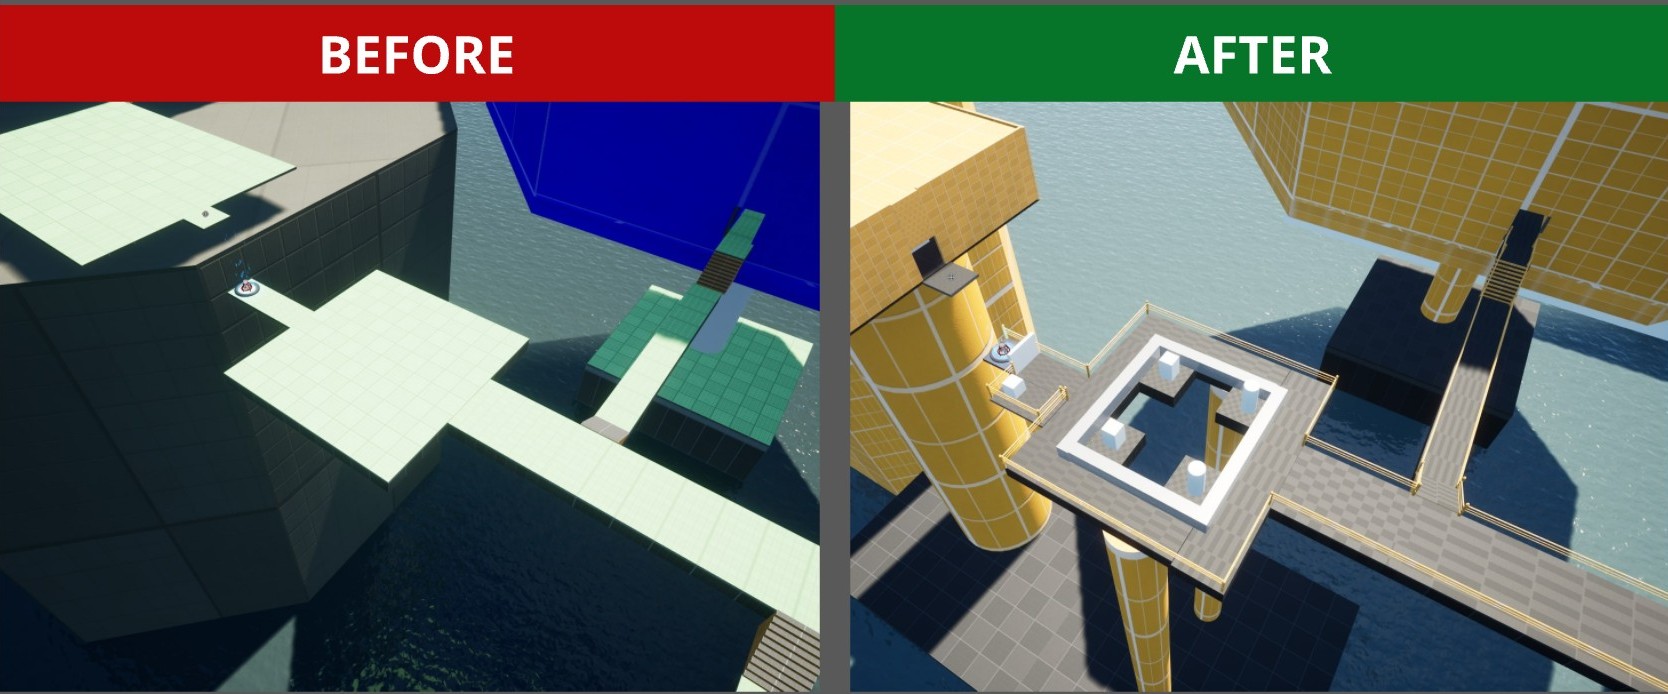
Replaced simple geometry with more detailed level assets.
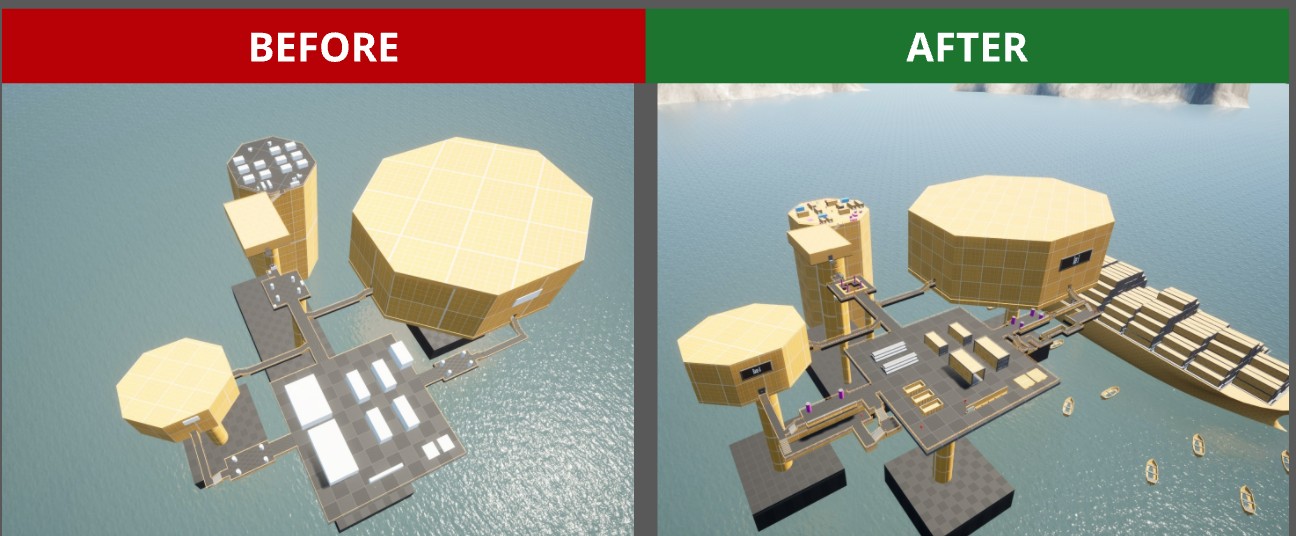
Problem: The beginning of the level felt too simple and lacked variety in both objects and combat difficulty.
Solution: Replaced much of the basic geometry with more complex level design elements to create a more visually interesting and engaging combat space.